 virtualhome.blog My blog about virtualized infrastructures, backup and disaster recovery topics and the cloud !
Related Articles

In this post I wanted to introduce my home office upgrade throughout the year 2020.
Since the global pandemic led to a “new normal” and of course to a lot of home office, I decided to spend some money to work comfortable and professional from home. I don’t want to talk much about the situation where we have all been this year and come straight to the setup.
A new chair for the home office upgrade
So the first thing for my home office upgrade was a look at a new chair which suits long working hours. I had a very old chair which was ok for a day or two in the home office but not for long working hours. After a lot of research I went with a SecretLabs TITAN XL.
If you want to check out the chair here is the link to it: Secretlab TITAN XL Chair
Just received my @secretlabchairs TITAN XL 2020 SoftWeave edition! It is incredibly massive and comfy!!#wfhlife #wfh2020 #secretlab pic.twitter.com/DxKestmqab
— Falko Banaszak (@Falko_Banaszak) April 28, 2020
As you can see in the tweet I was running 2 x 27 inch monitors as a setup which I dropped 🙂 Later on in this post I’m going to introduce my new monitor setup.
All in all I can say that the chair is very comfortable and I really enjoy sitting on it. I also recommended the chair to a lot of co-workers and they are all happy with it aswell. I was struggling buying that chair aswell, because when do you buy a chair online when you never sat on it :D. Just lockdown things I guess.
A new Headset
This was kind of a tough decison to be honest. The prices for headset vary from 30 € to 500 € and reviews are very mixed even on high prized headsets. First of all I needed a headset which is comfortable enough for long meetings and workshops. Due to the pandemic I was solely working from home and had about 3 or 4 on-site customer meetings throughout whole 2020 ! Therefore I was searching the web for great headsets. One must-have criteria was, that the headset should be wireless and have a long battery lifetime. After a lot of reviews and YouTube videos (I love YouTube in terms of getting to know a product before you buy) I went with the Steelseries Arctis 7 Headset:

I bought that one on Amazon and really must say, that this is and was the best headset I ever had ! It is really comfortable, works super awesome with its USB WiFi dongle, has an awesome quality in terms of material and sound / voice. I used it throghout 2020 in several full day workshops and the battery life never disappointed me ! Of course I connected it to the USB charging cable between breaks and so on, but I never had a problem where I didn’t had enough battery power to attend a call or meeting. Lastly, Steelseries makes awesome headsets and I can definetely fully recommend it !
Here is the link of the Arctis Steelseries 7 on Amazon
Here is the link of the Arctis Steelseries 7 on the steelseries page itself
A new microphone and boom arm
For even better voice audio I had a chat with Eric Wright from discoposse.com where he advised me on various microphones. After some more reviews and YouTube videos I had 2 favourites on my list, which was the Blue Yeti and the RODE NT-USB.
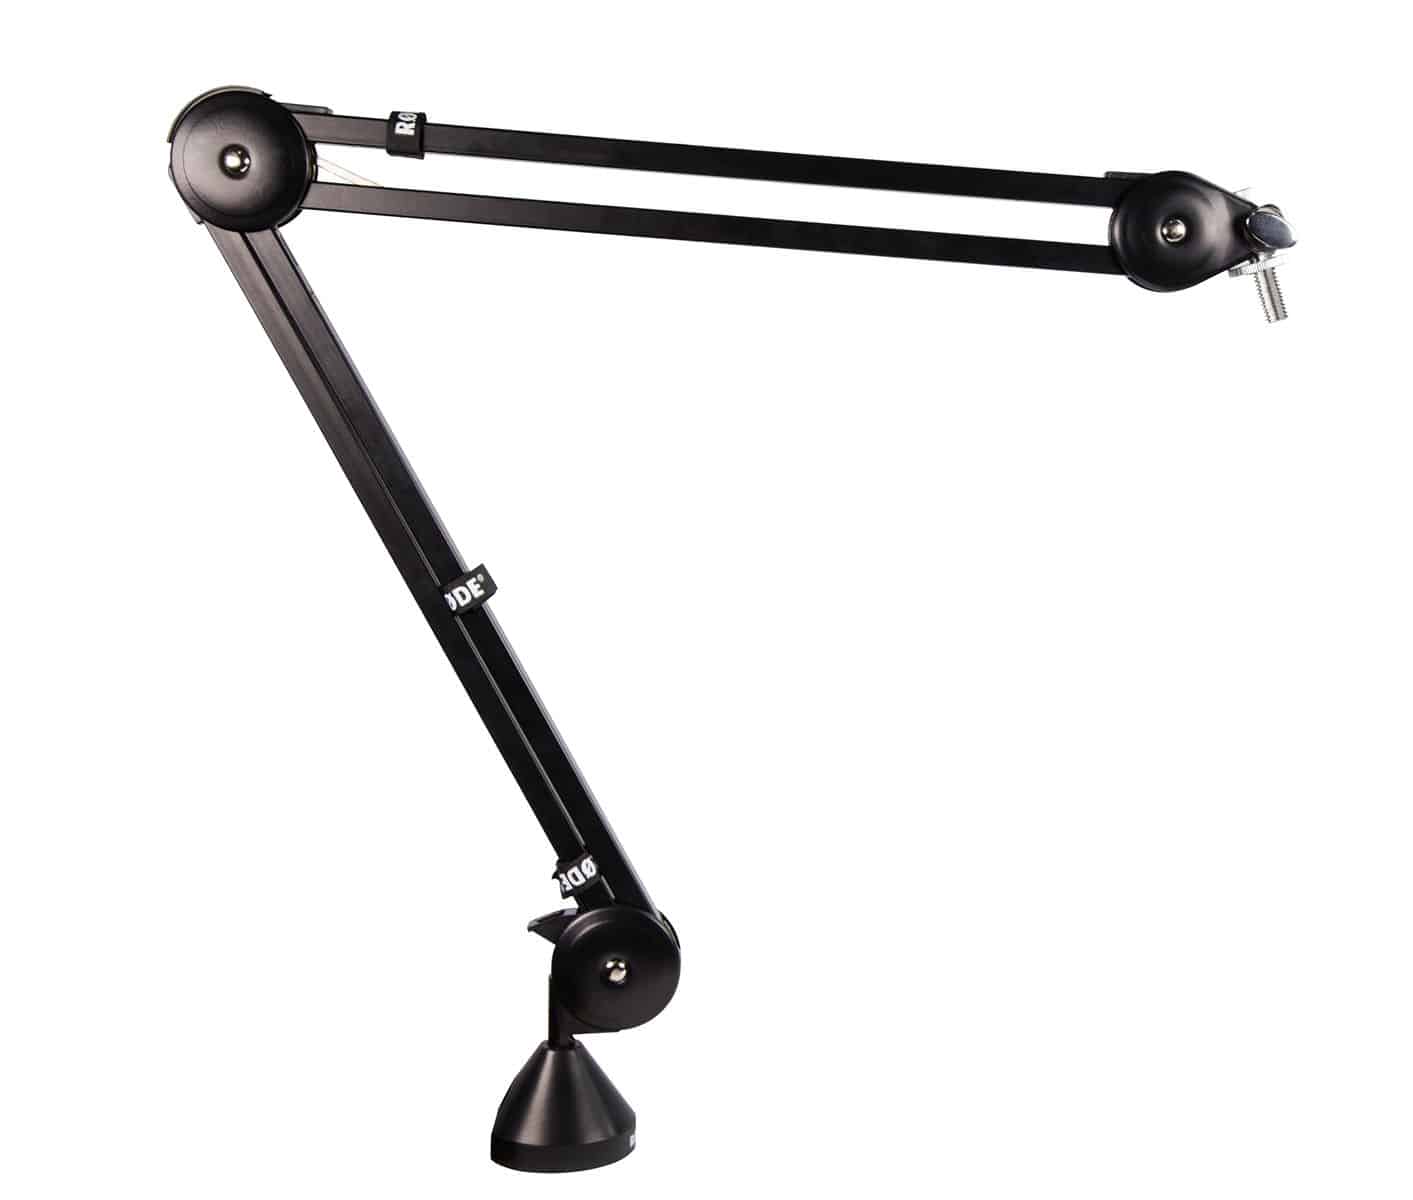
I decided for the RODE NT-USB because of the simplicity and because of the “more natural voice” of it. The RODE NT-USB is a small membrane microphone which results in a very natural sound. I love it ! Another fact why I went for the RODE NT-USB was the included pop-filter. So I basically had a “unbox and plug and play experience”. In addition, I bought the RODE PSA-1 boom arm to mount the microphone at my office desk.
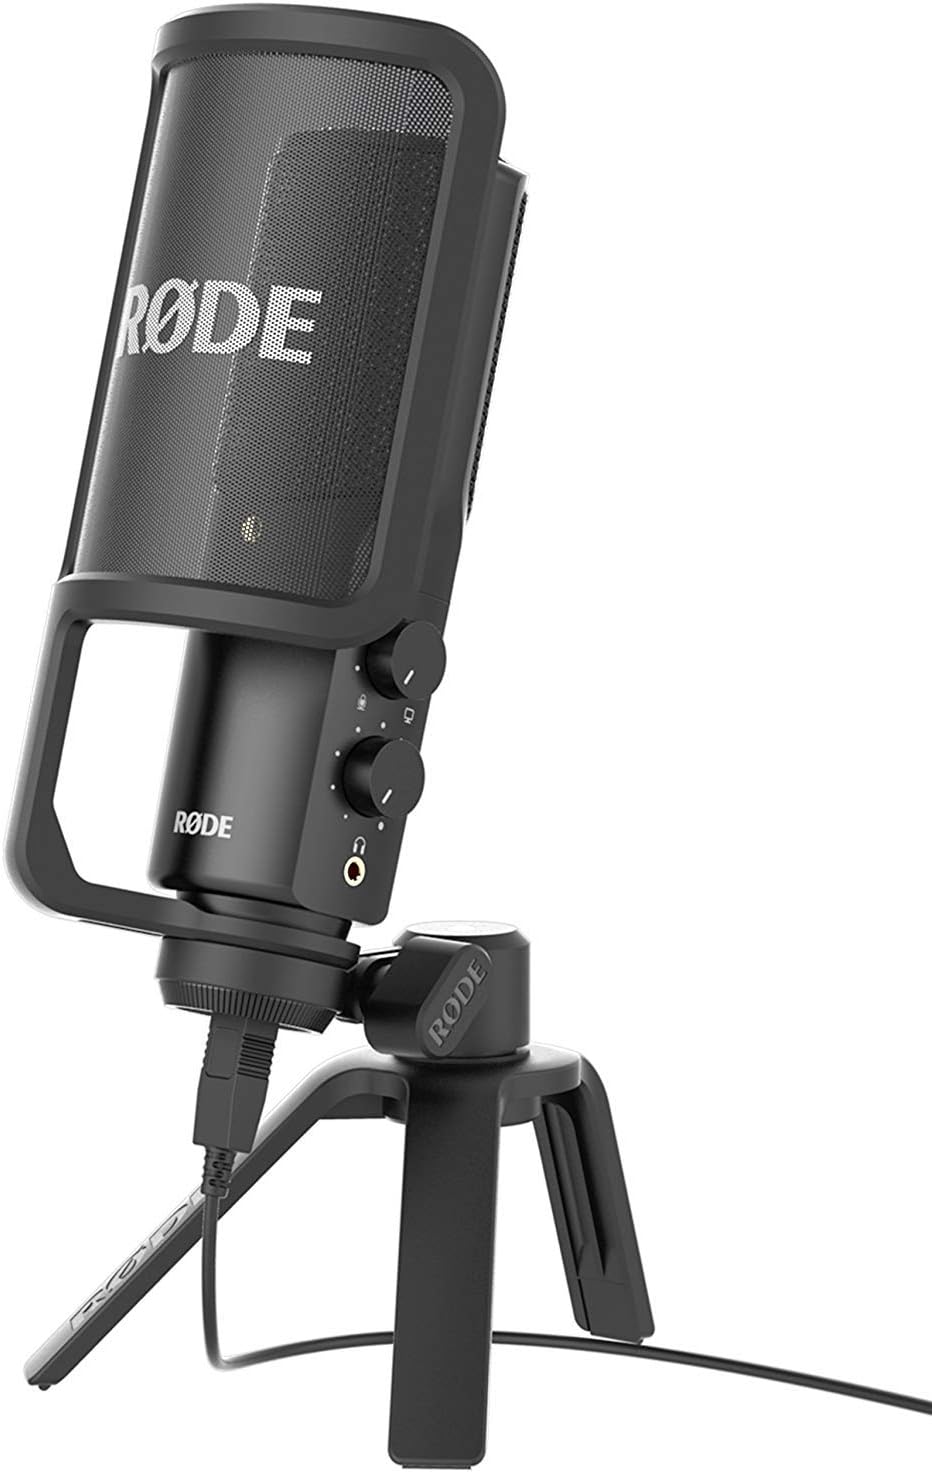
Also here I must say that the RODE NT-USB was a very good decision ! It is simply an awesome quality. I also considered a XLR version of microphones but dropped that idea due to the need of an external soundcard and in fact more cables ! Nevertheless the sound quality even thorugh an USB hub is awesome. Something which is not common nowadays is, that the RODE NT-USB comes with a very thick USB cable. And it is long ! 6 meters long !
I mounted the RODE NT-USB and the boom arm on the right side of my office desk, so I can simply turn it to me when I need it. Also it doesn’t affect my view on the screen when I don’t need it.
Also I need to thank Michael Cade for the chats we had about the RODE-NT USB. He has the same mic and is very pleased with it as well from what I know. Check out his YouTube channel as he is doing great stuff there !
Links to the products
Here is the link to the RODE NT-USB on the RODE page itself
Here is the link to the RODE PSA-1 on the RODE page itself
I bought these on Amazon, so here are the links to Amazon.
Here is the link to the RODE NT-USB on Amazon
Here is the link to the RODE PSA-1 on Amazon
Webcam
First of all thanks to Rasmus Haslund who helped me set up OBS to capture my screen and do the green screen settings within OBS. He took the time for a remote session and helped me with everything, which I really appreciate ! By the way, check out his YouTube channel, I especially love the homelab series he is doing ! Furthermore we also chatted about webcams and proper lighting. He told me that he also ended up with 2 LED lights in front of him to make the greenscreen work even better. Unfortunately, it is not feasible for me to mount a greenscreen in my office as it is to small and based under a roof slope. Plus, I have a corner desk with my gaming PC on the other side, which makes it really uncomfortable with a green screen behind or hanging down from the ceiling. After some reviews and again, some YouTube videos I ended up with the Logitech StreamCam !
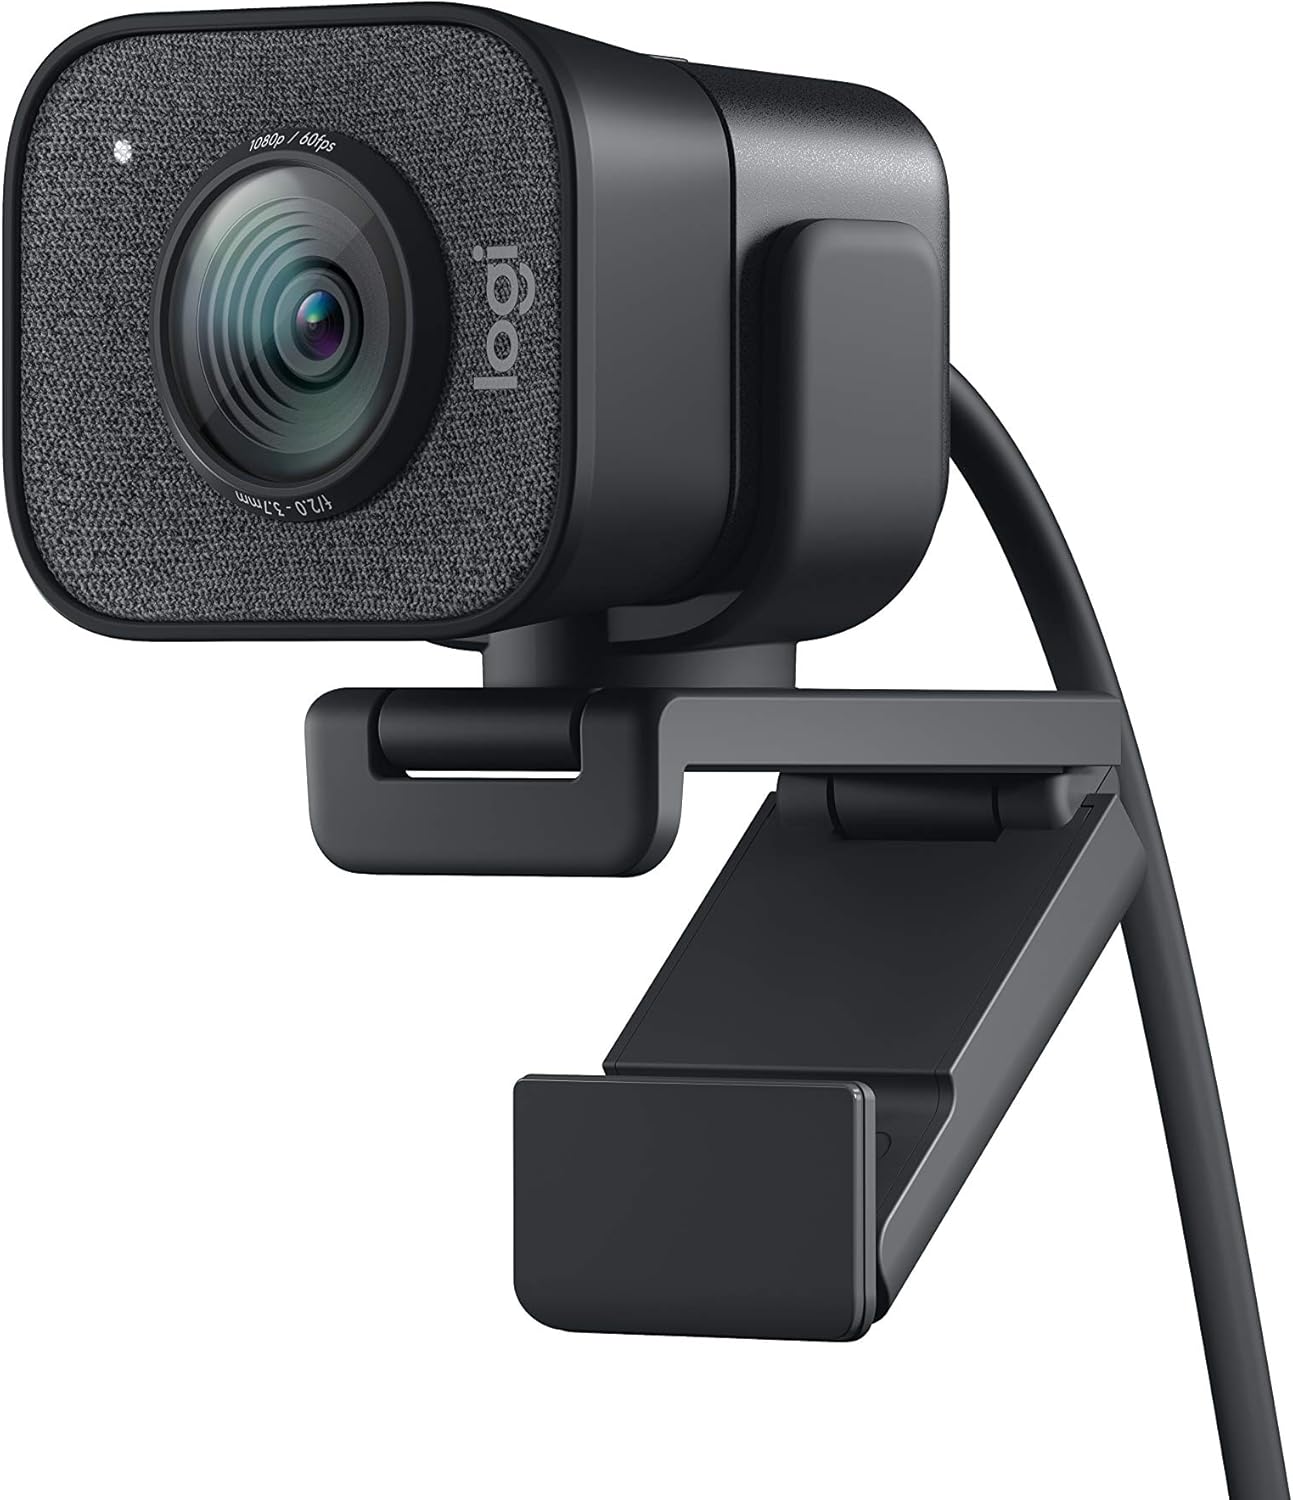
The overall quality of the webcam is really good, plus it supports USB-C !
The specs are the following:
- FullHD 1080p with 60FPS
- choose if you want it vertical or horizontal
- it has a really good autofocus when you have proper lighting
The first tests I made with OBS and the new lighting where pretty good and I’m very satisfied with it. Basically I’m all set for creating video recordings of my desktop and the picture in picture recording of my webcam.
Here is the link to the Logitech StreamCam on Amazon
Here is the link to the Logitech StreamCam on the Logitechs site itself
LED Lights
This is also a topic on which you can spend a lot of money or quite nothing. I really had the Elgato Key lights on my wishlist, but they are way to expensive in my eyes. (Here is the amazon link to them)
So I ended up with 2 USB powered LED lights with tripods for around 60 €. They are made by a company named “Neewer” and very good reviews on amazon. (Here is the link to the 2 USB powered LED lights)
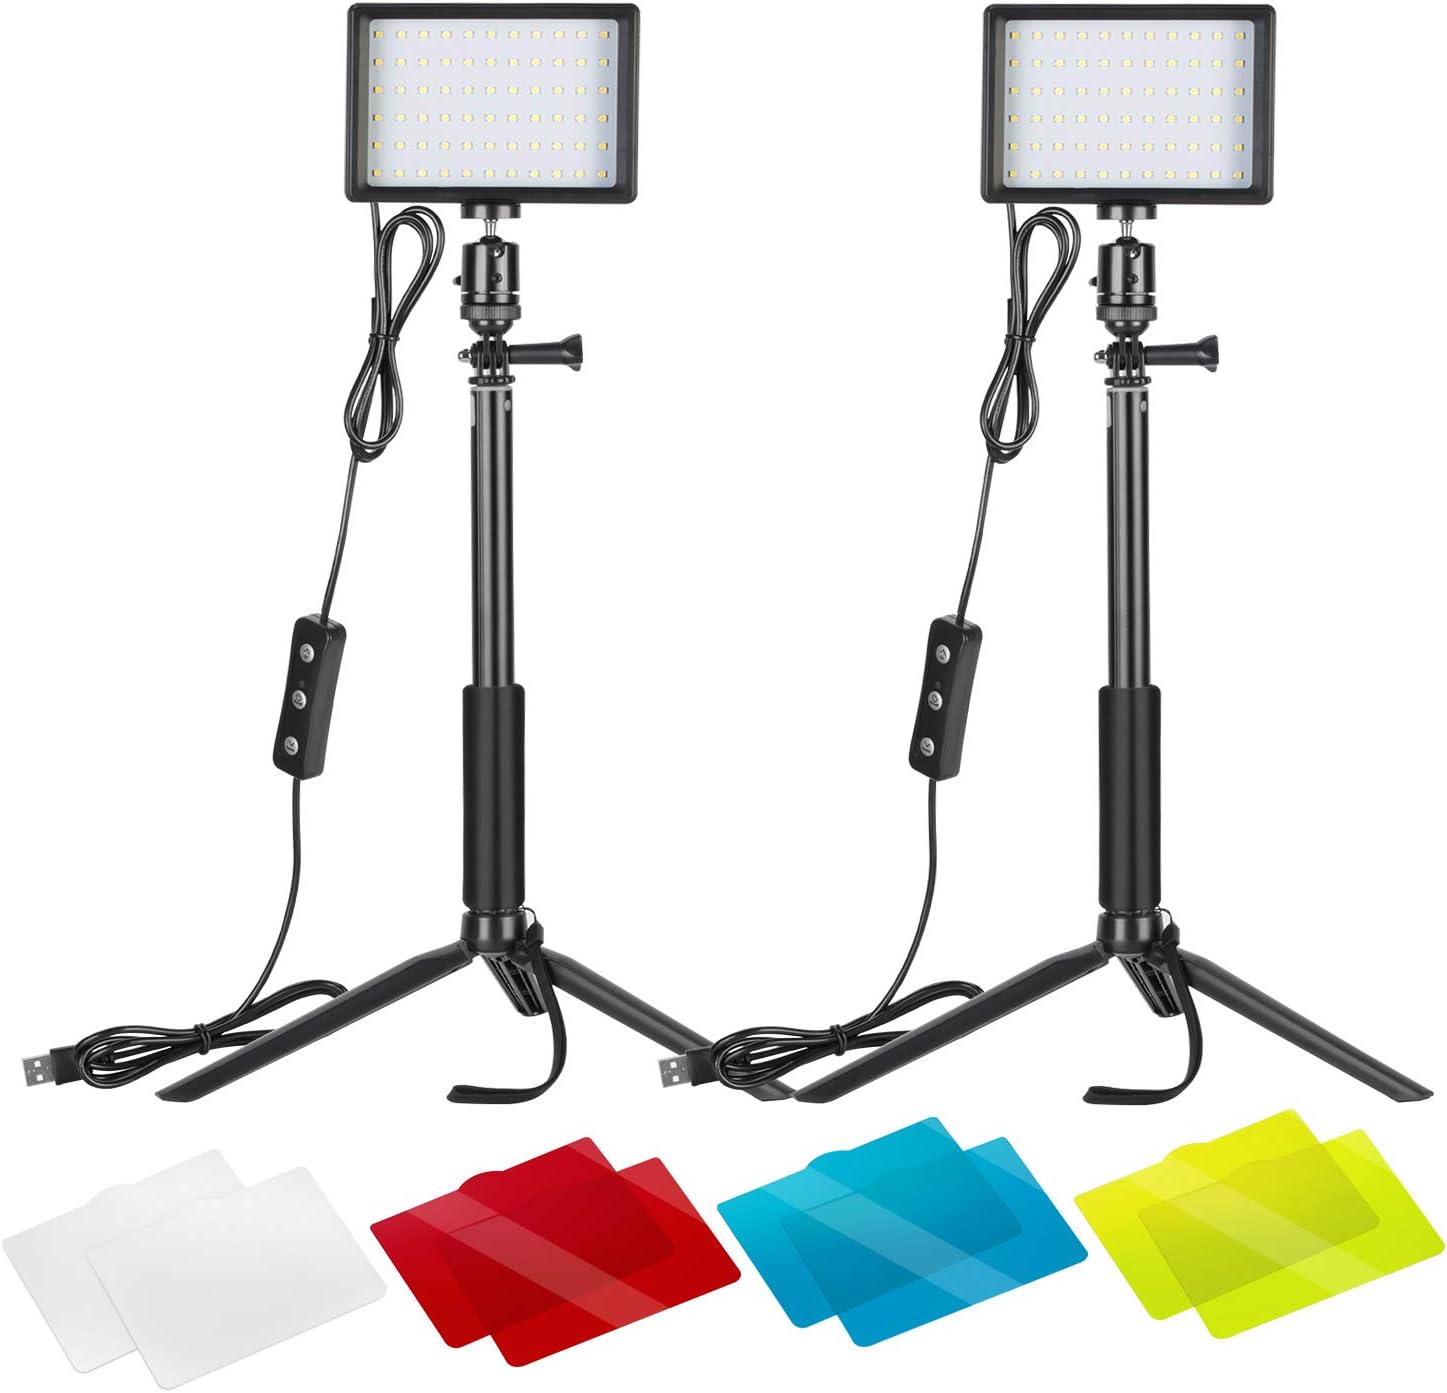
The lighting itself is really good ! It was a complete different experience after I placed them on my desk and tested them with OBS. The only thing which is not that good is that they are kind of shaky on the desk. This is probably due to the plastic tripods. Don’t get me wrong, they stand firm, but when you touch them they wobble a little. But this is the only negative point I have here. A big plus is that they are USB powered and I don’t need to swatch batteries.
USB Hub
I didn’t search long for a USB hub, because i quickly found the one from the company named “Atolla”.
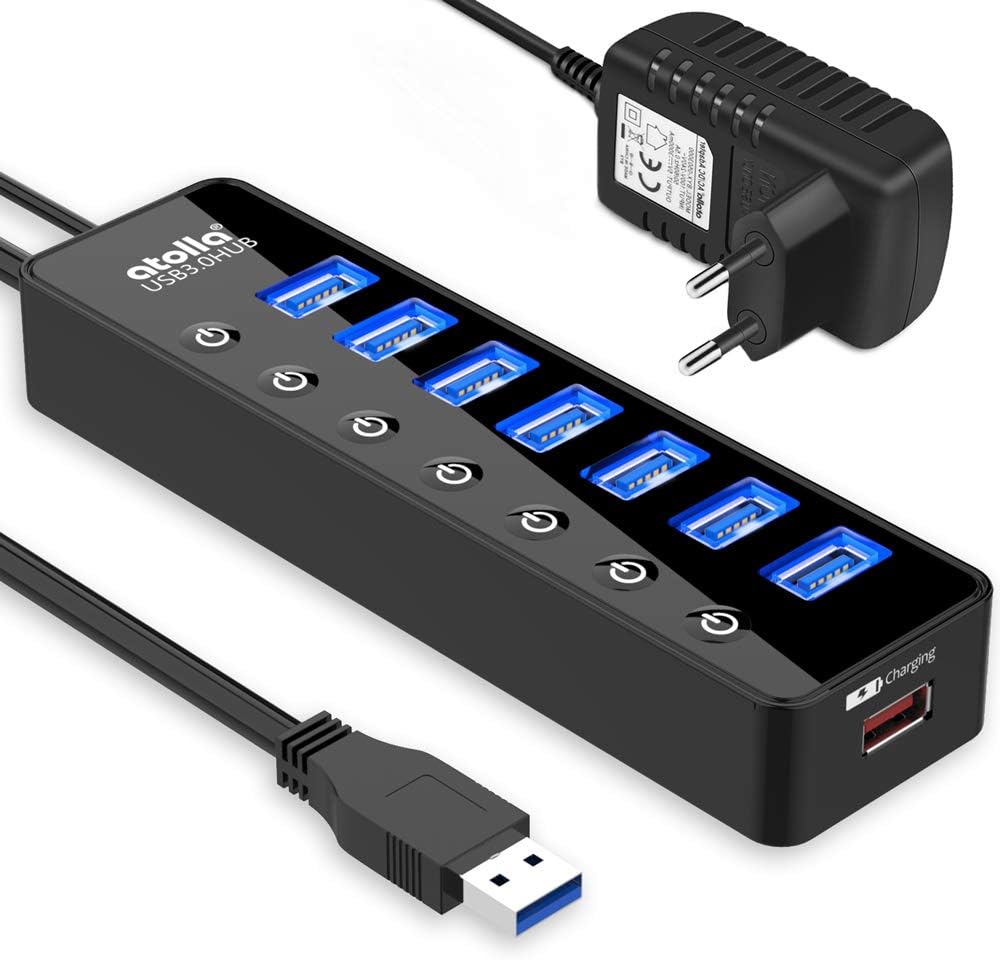
The cool thing about this one is that you can turn off single ports of this hub with a button right next to the USB port. Pretty useful in terms of USB sticks or external hard drives. Another cool thing is that the hub is powered by an external power supply, meaning you can get the throughput you want and need 🙂
Another plus point is the separate charging port which I use to feed my charging pad for my phone (By the way I got a Samsung Galxy S20 Ultra 5G in case you wanted to know). This works pretty well !
(Here is the link to the USB hub)
Charging PAD
To keep an eye on my smartphone, I wanted a charger where I could put the smartphone on edge. So I went with the “Yootech” Wireless Charger which is simple, straightforward and works pretty well.
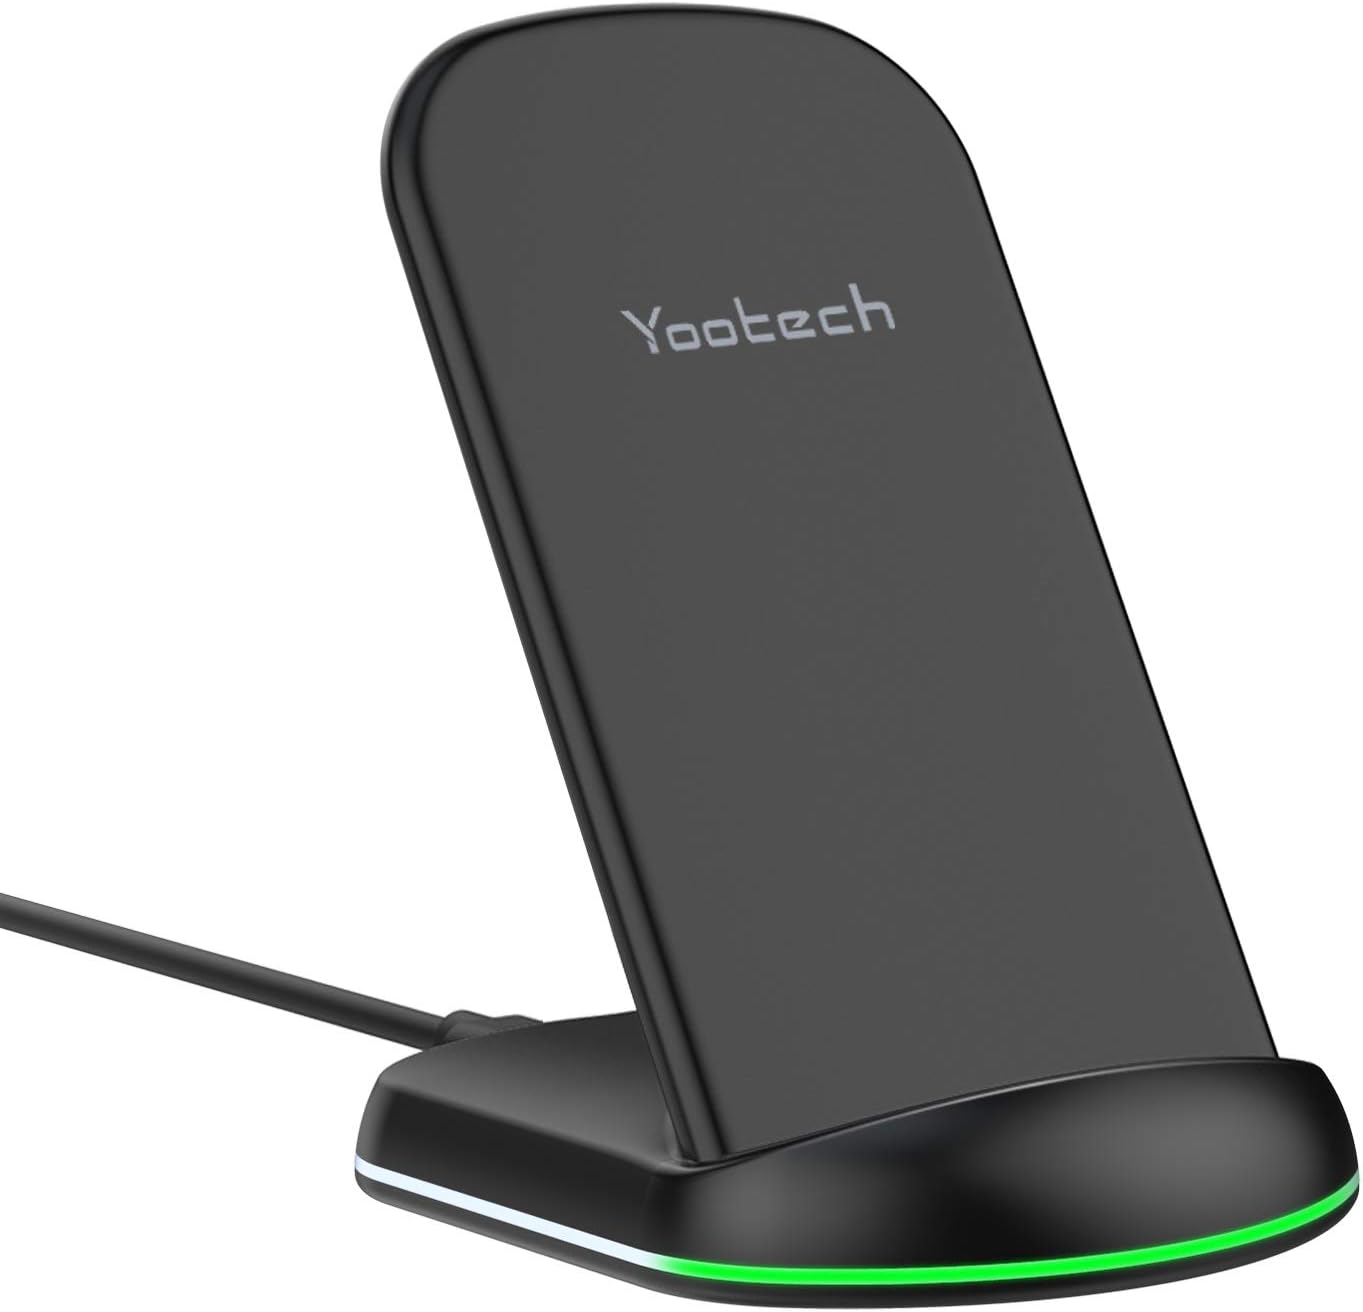
If you place your phone or any other Qi based device on it to charge the green light only lights up for a few seconds and turns off again.
Here is the link to the charger on Amazon
LG ultrawide screen for my home office upgrade
Probably the biggest investment was the new screen. As you can see from the first picture of the Secretlab tweet, I had 2 x 27 inch monitors with Full HD resolution. It took me a long time to find a suitable monitor for office work only ! Finally I ended up with a 35 inch model from LG.

The model is the “LG 35WN75C-B”. Here is the link to the LG site of that specific model.
Here is the Amazon link to the screen: LG screen on Amazon
It has all I need in terms of home office work I can imagine including:
- 35″ Ultrawide 3440 x 1440 resolution
- VA panel (I really prefer VA panels prior IPS panels for work because of the better contrast !)
- Curved
- HDR10
- AMD Free Sync
- 100 Hz Refreshrate which is more than enough for office work
USB-C Charging
A gamechanger for me is that this screen supports the charging of laptops up to 90W. This means I dropped my docking station (!), and I’m now displaying my screen and charging my ThinkPad over a single USB-C connection. This is simply awesome and furthermore it is set up for the future, as my next laptops will just need a USB C port.
Additionally, I connected my USB keyboard and mouse to the screen, which means in fact, that the USB-C cable is displaying my screen, charging my laptop and connecting my keyboard and mouse to the laptop. Simply awesome.
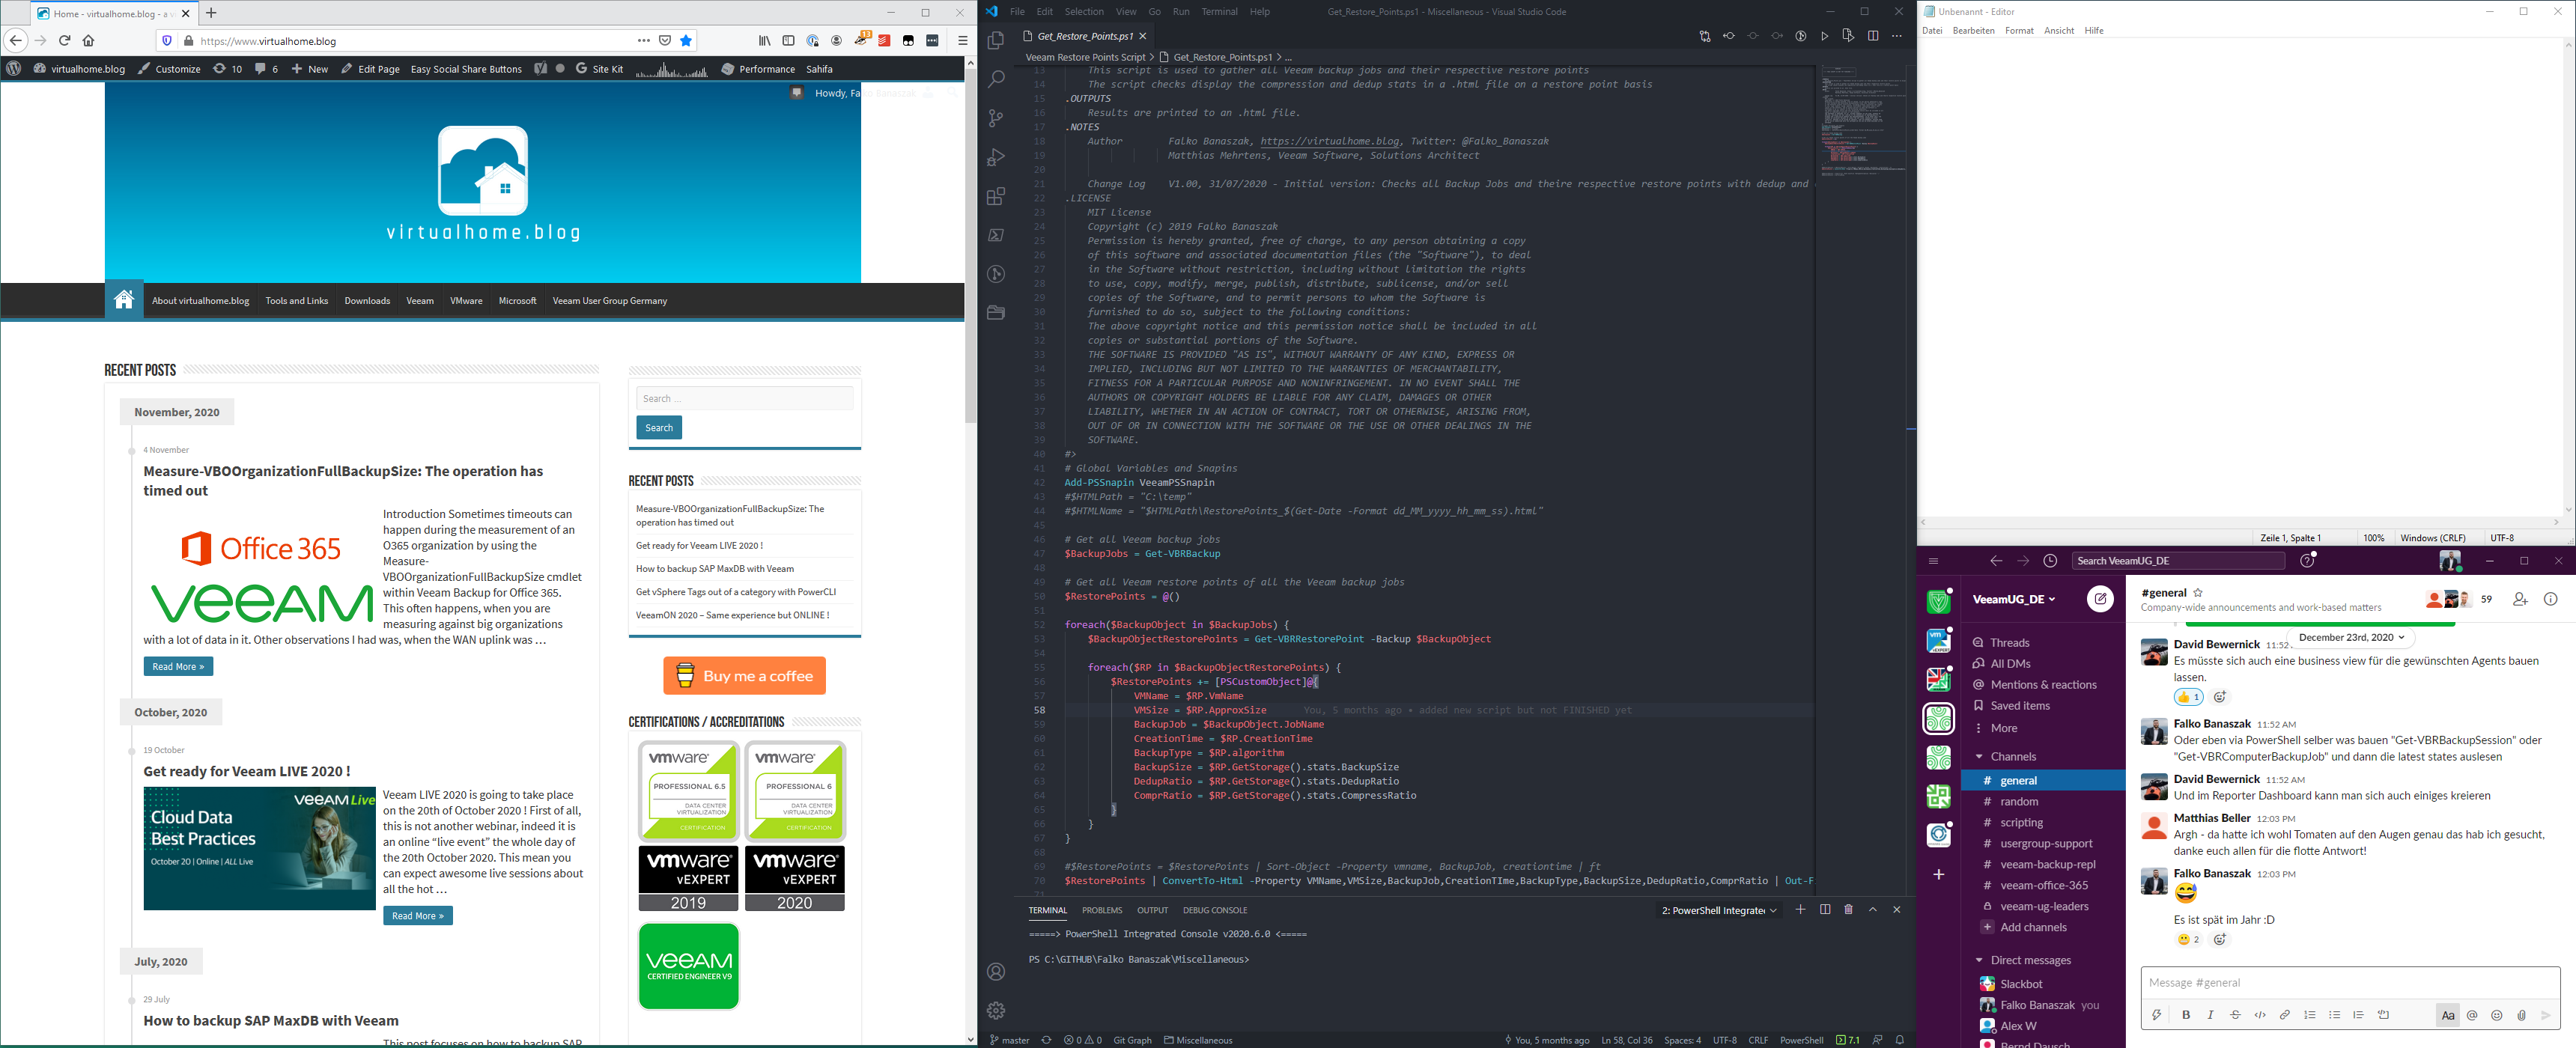
PowerToys
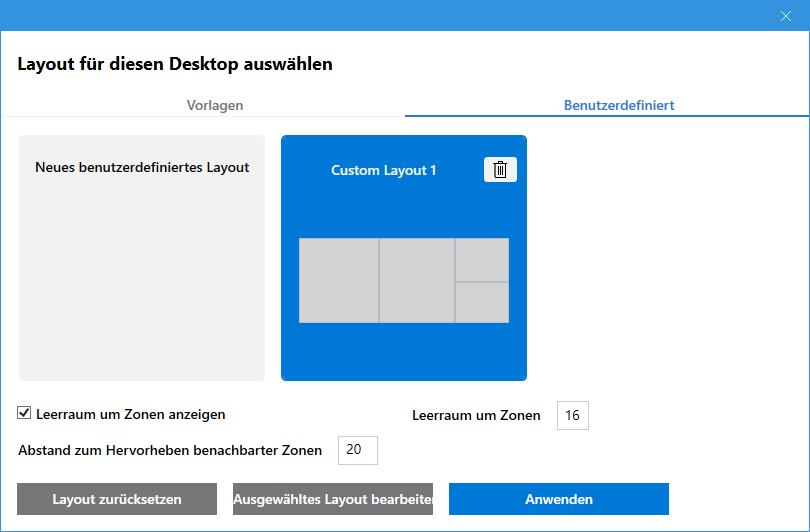
Probably, something which every UltraWide owner knows about is PowerToys. I use that tool together with fancy zones to organize my desktop. It took some time to get used to not dragging windows from one screen to another. But after I got used to it, I can say that for office work this is probably the best solution for me !
Here is my Fancy Zones layout and a “demo” of how windows are arranged on the desktop. By holding SHIFT and selecting the window you can map and fix your window to your desired layout. This is something very easy to do once u get used to it and saves a lot of time by switching windows and so on.
HINT: In case you didn’t know, this also works on Windows 10 with multiple desktops. So if you use the Windows 10 virtual desktop feature like me and switch between them with CTRL + SHIFT + Left Key / Right Key, than the Fancy Zone mapping will also work on the other desktop !
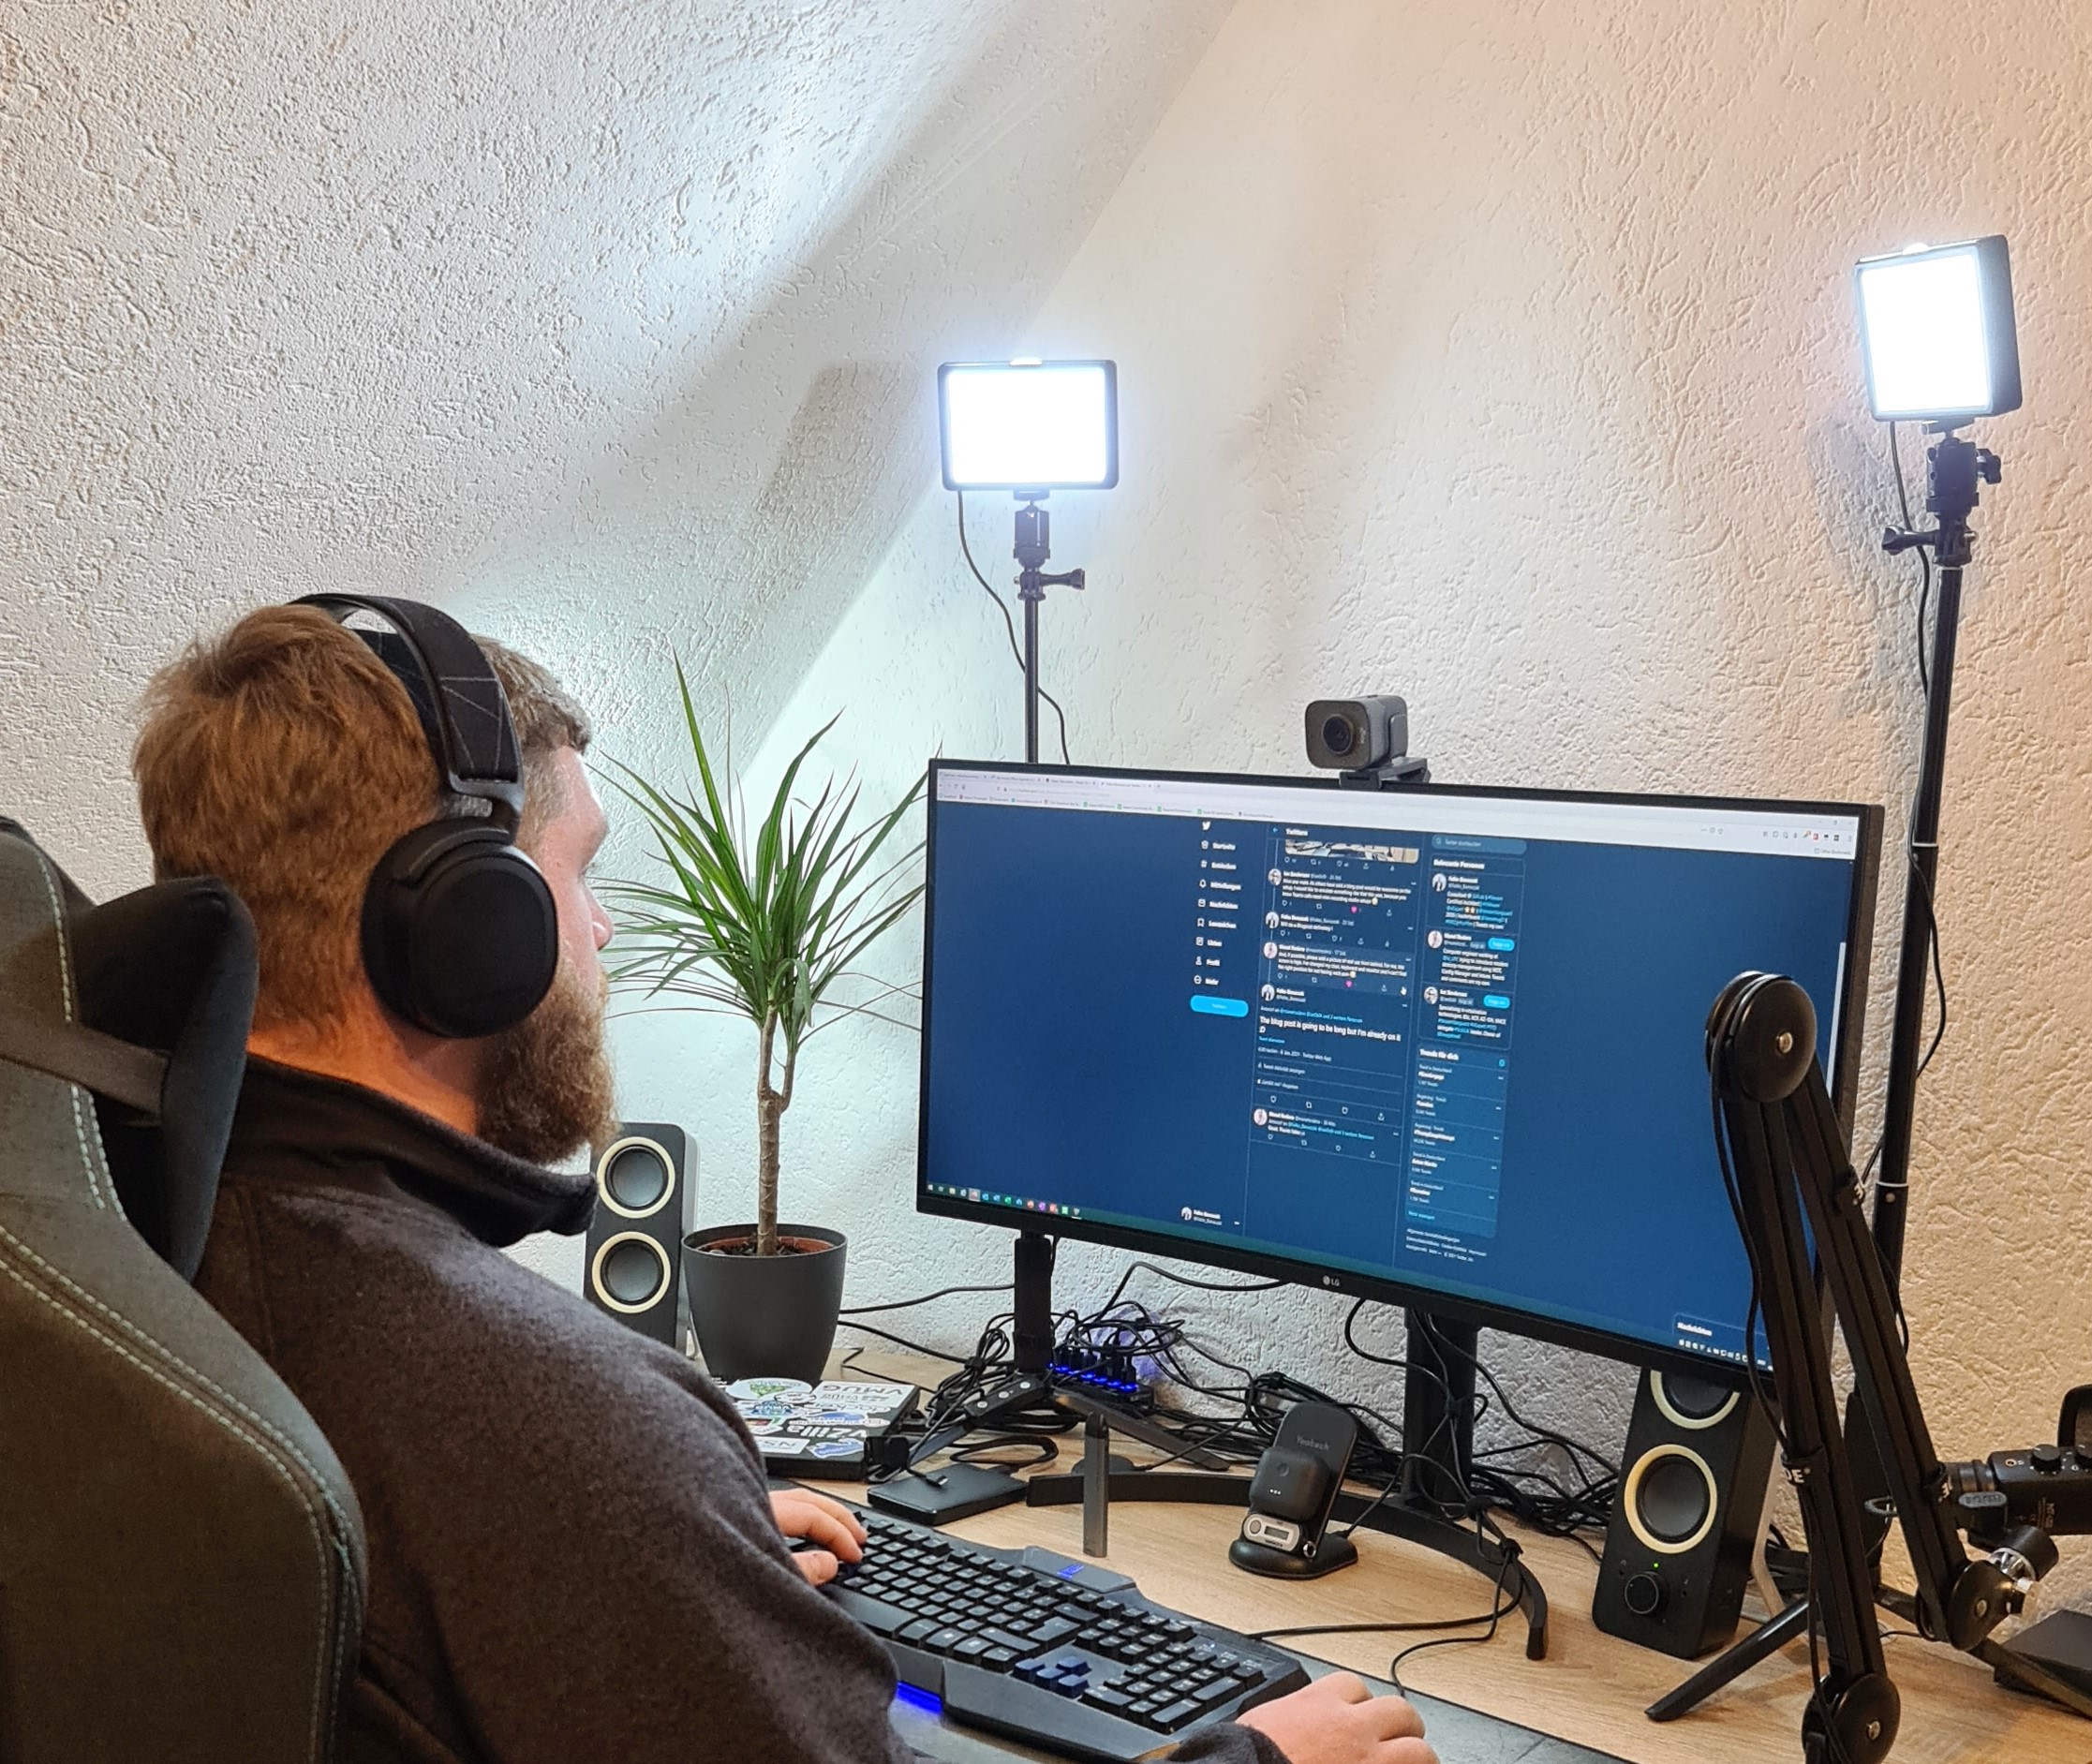
Finally, here are some pictures of my setup and all the devices I have on my desk:
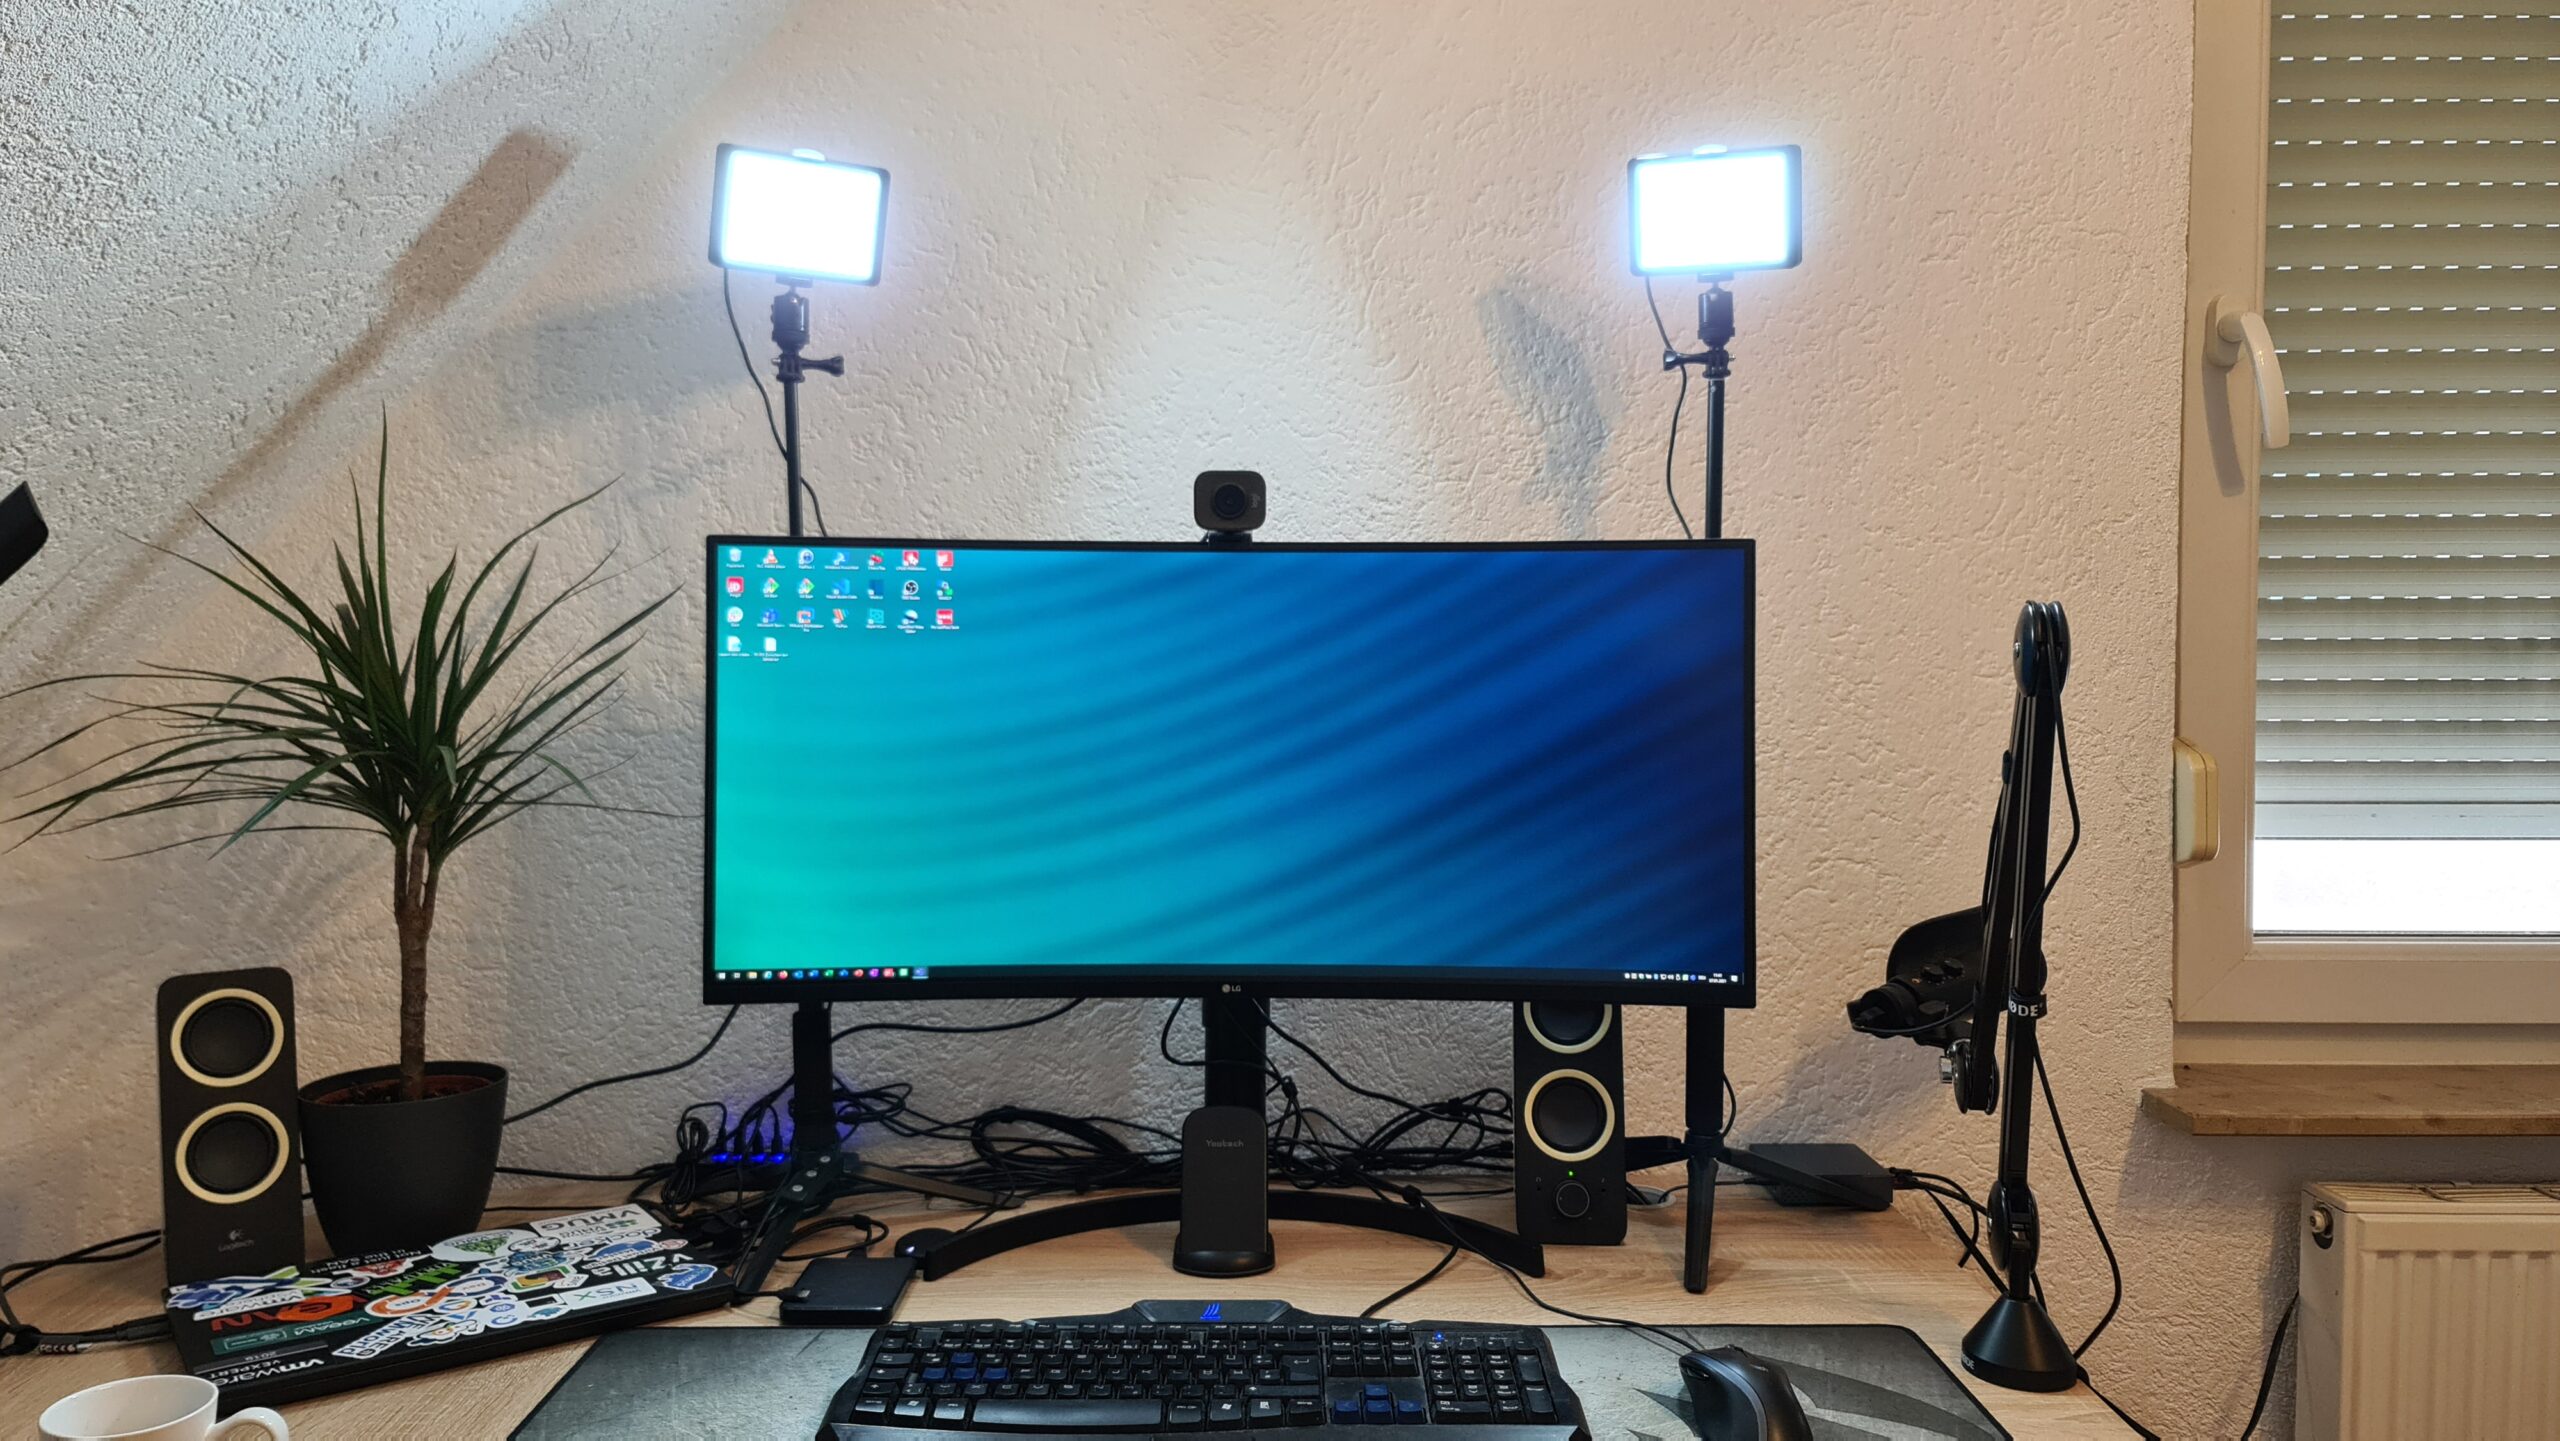
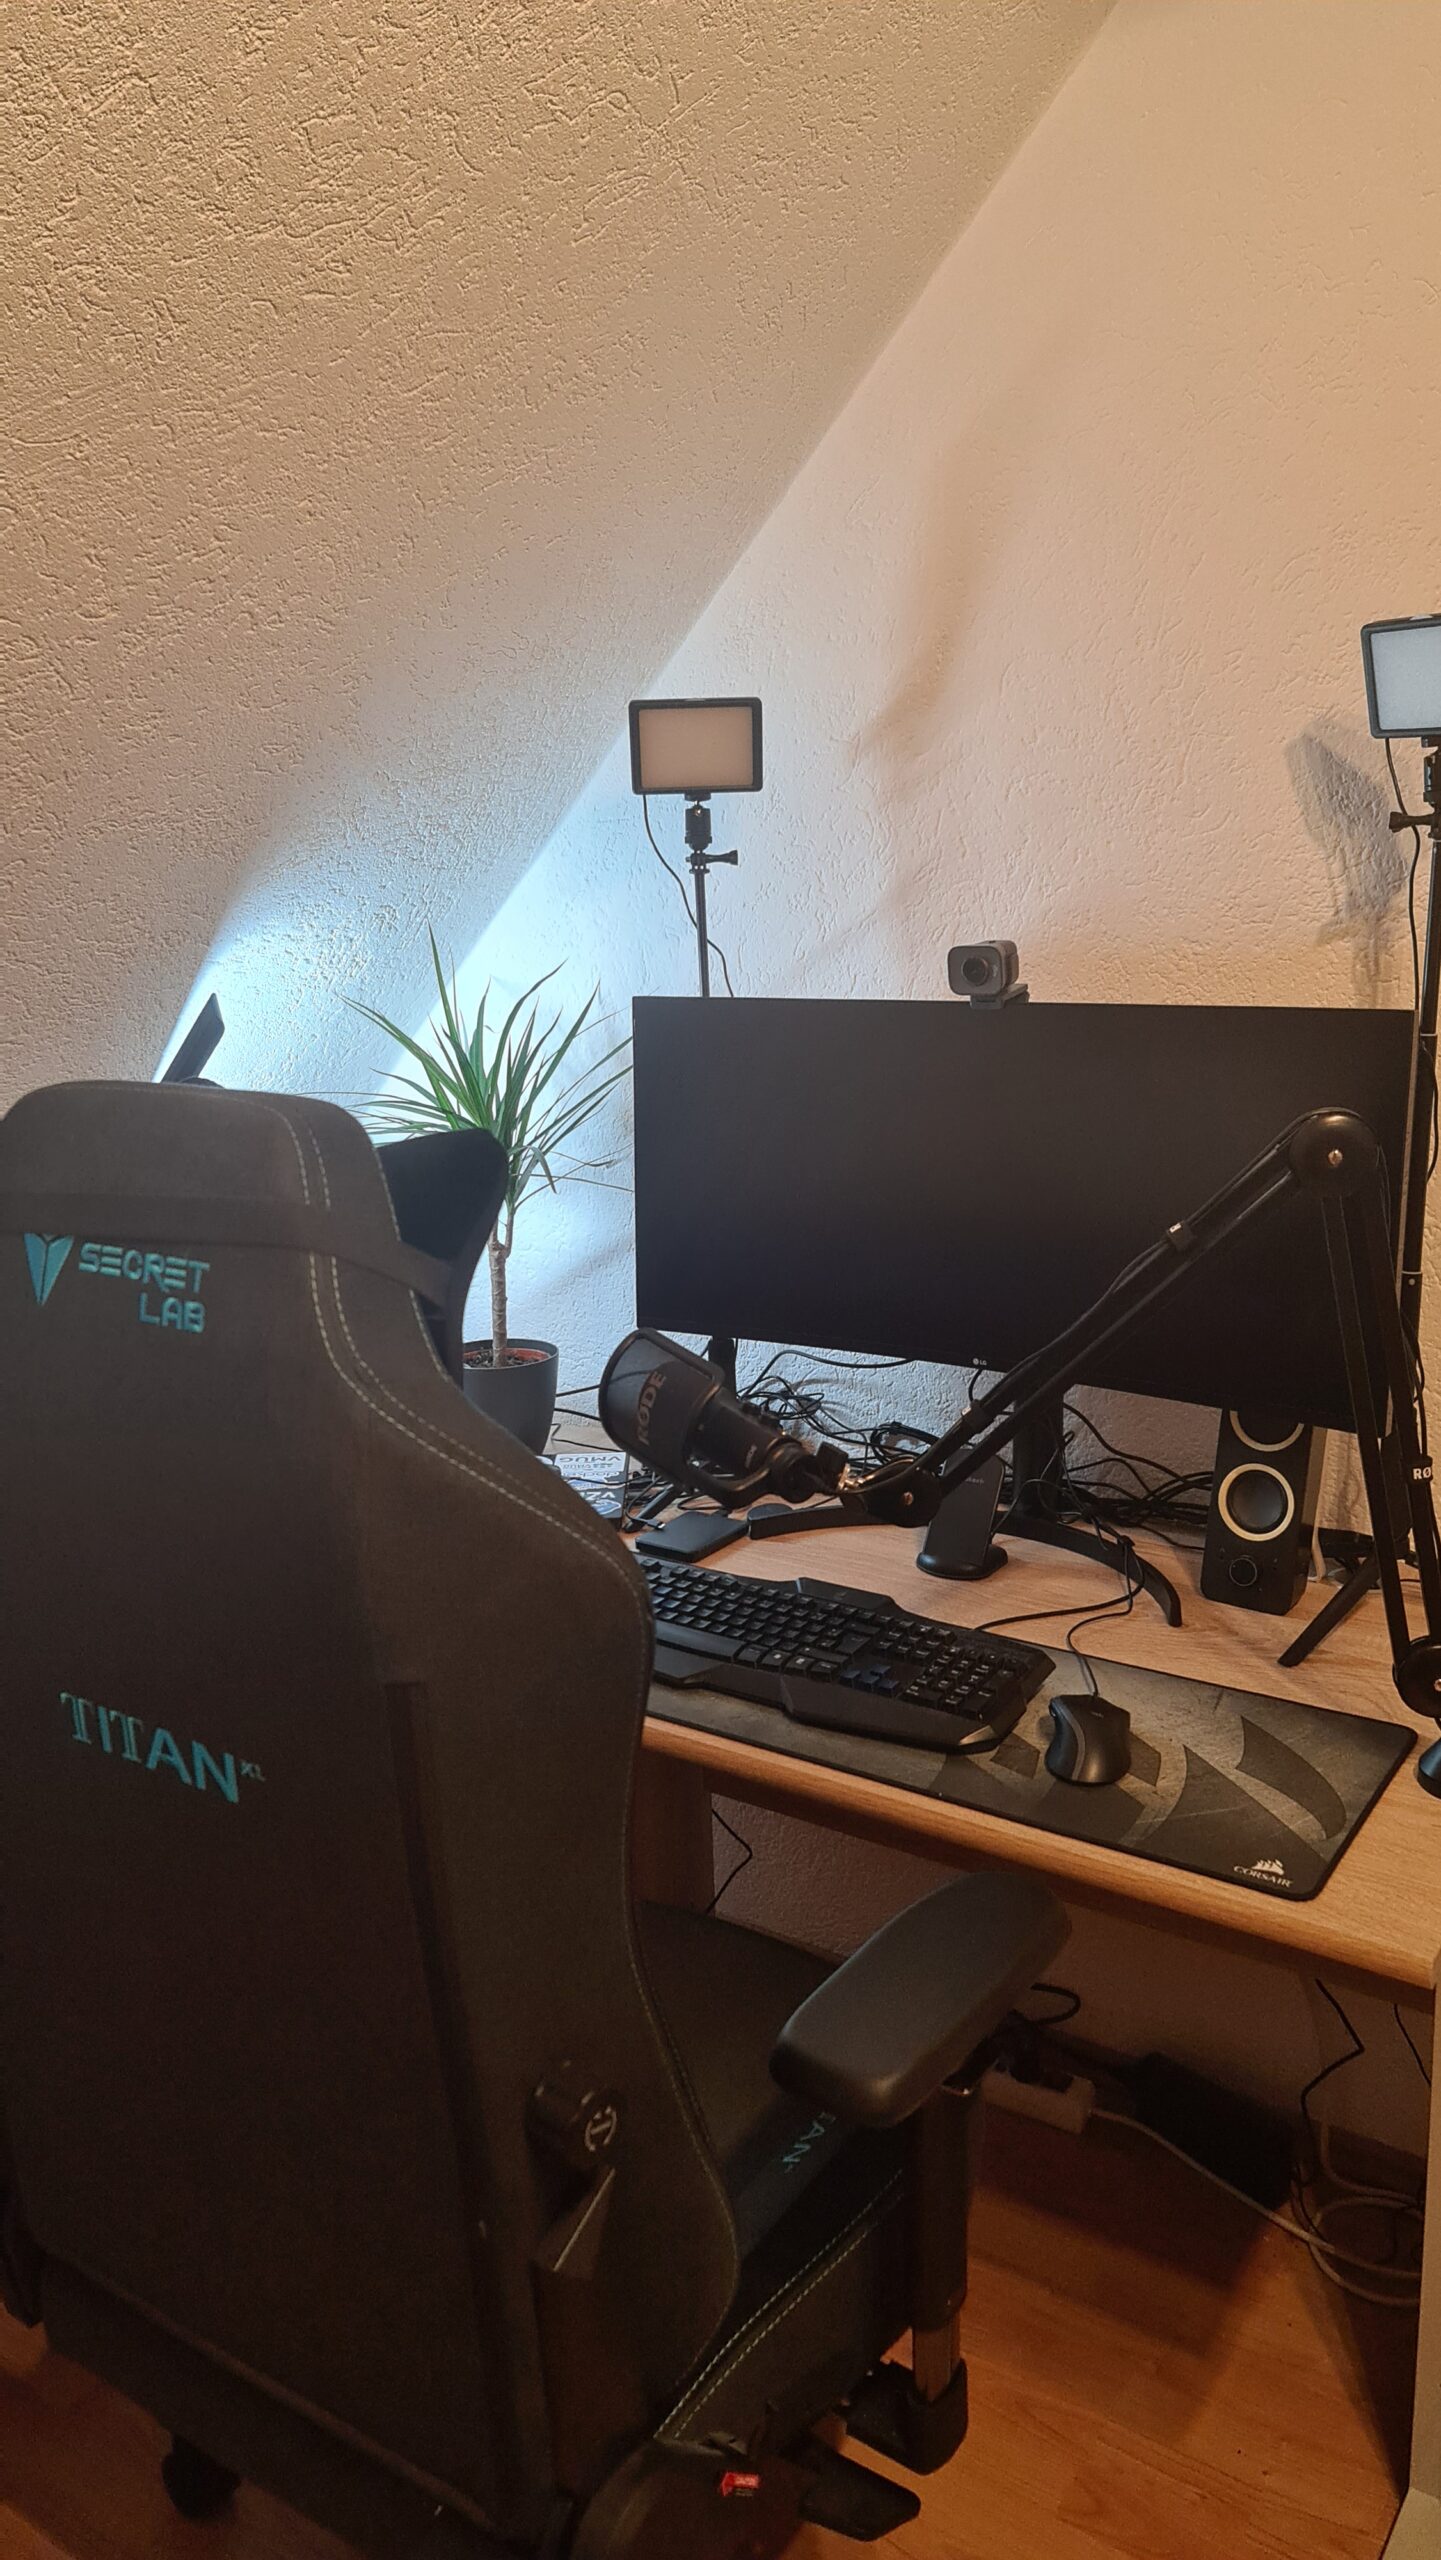
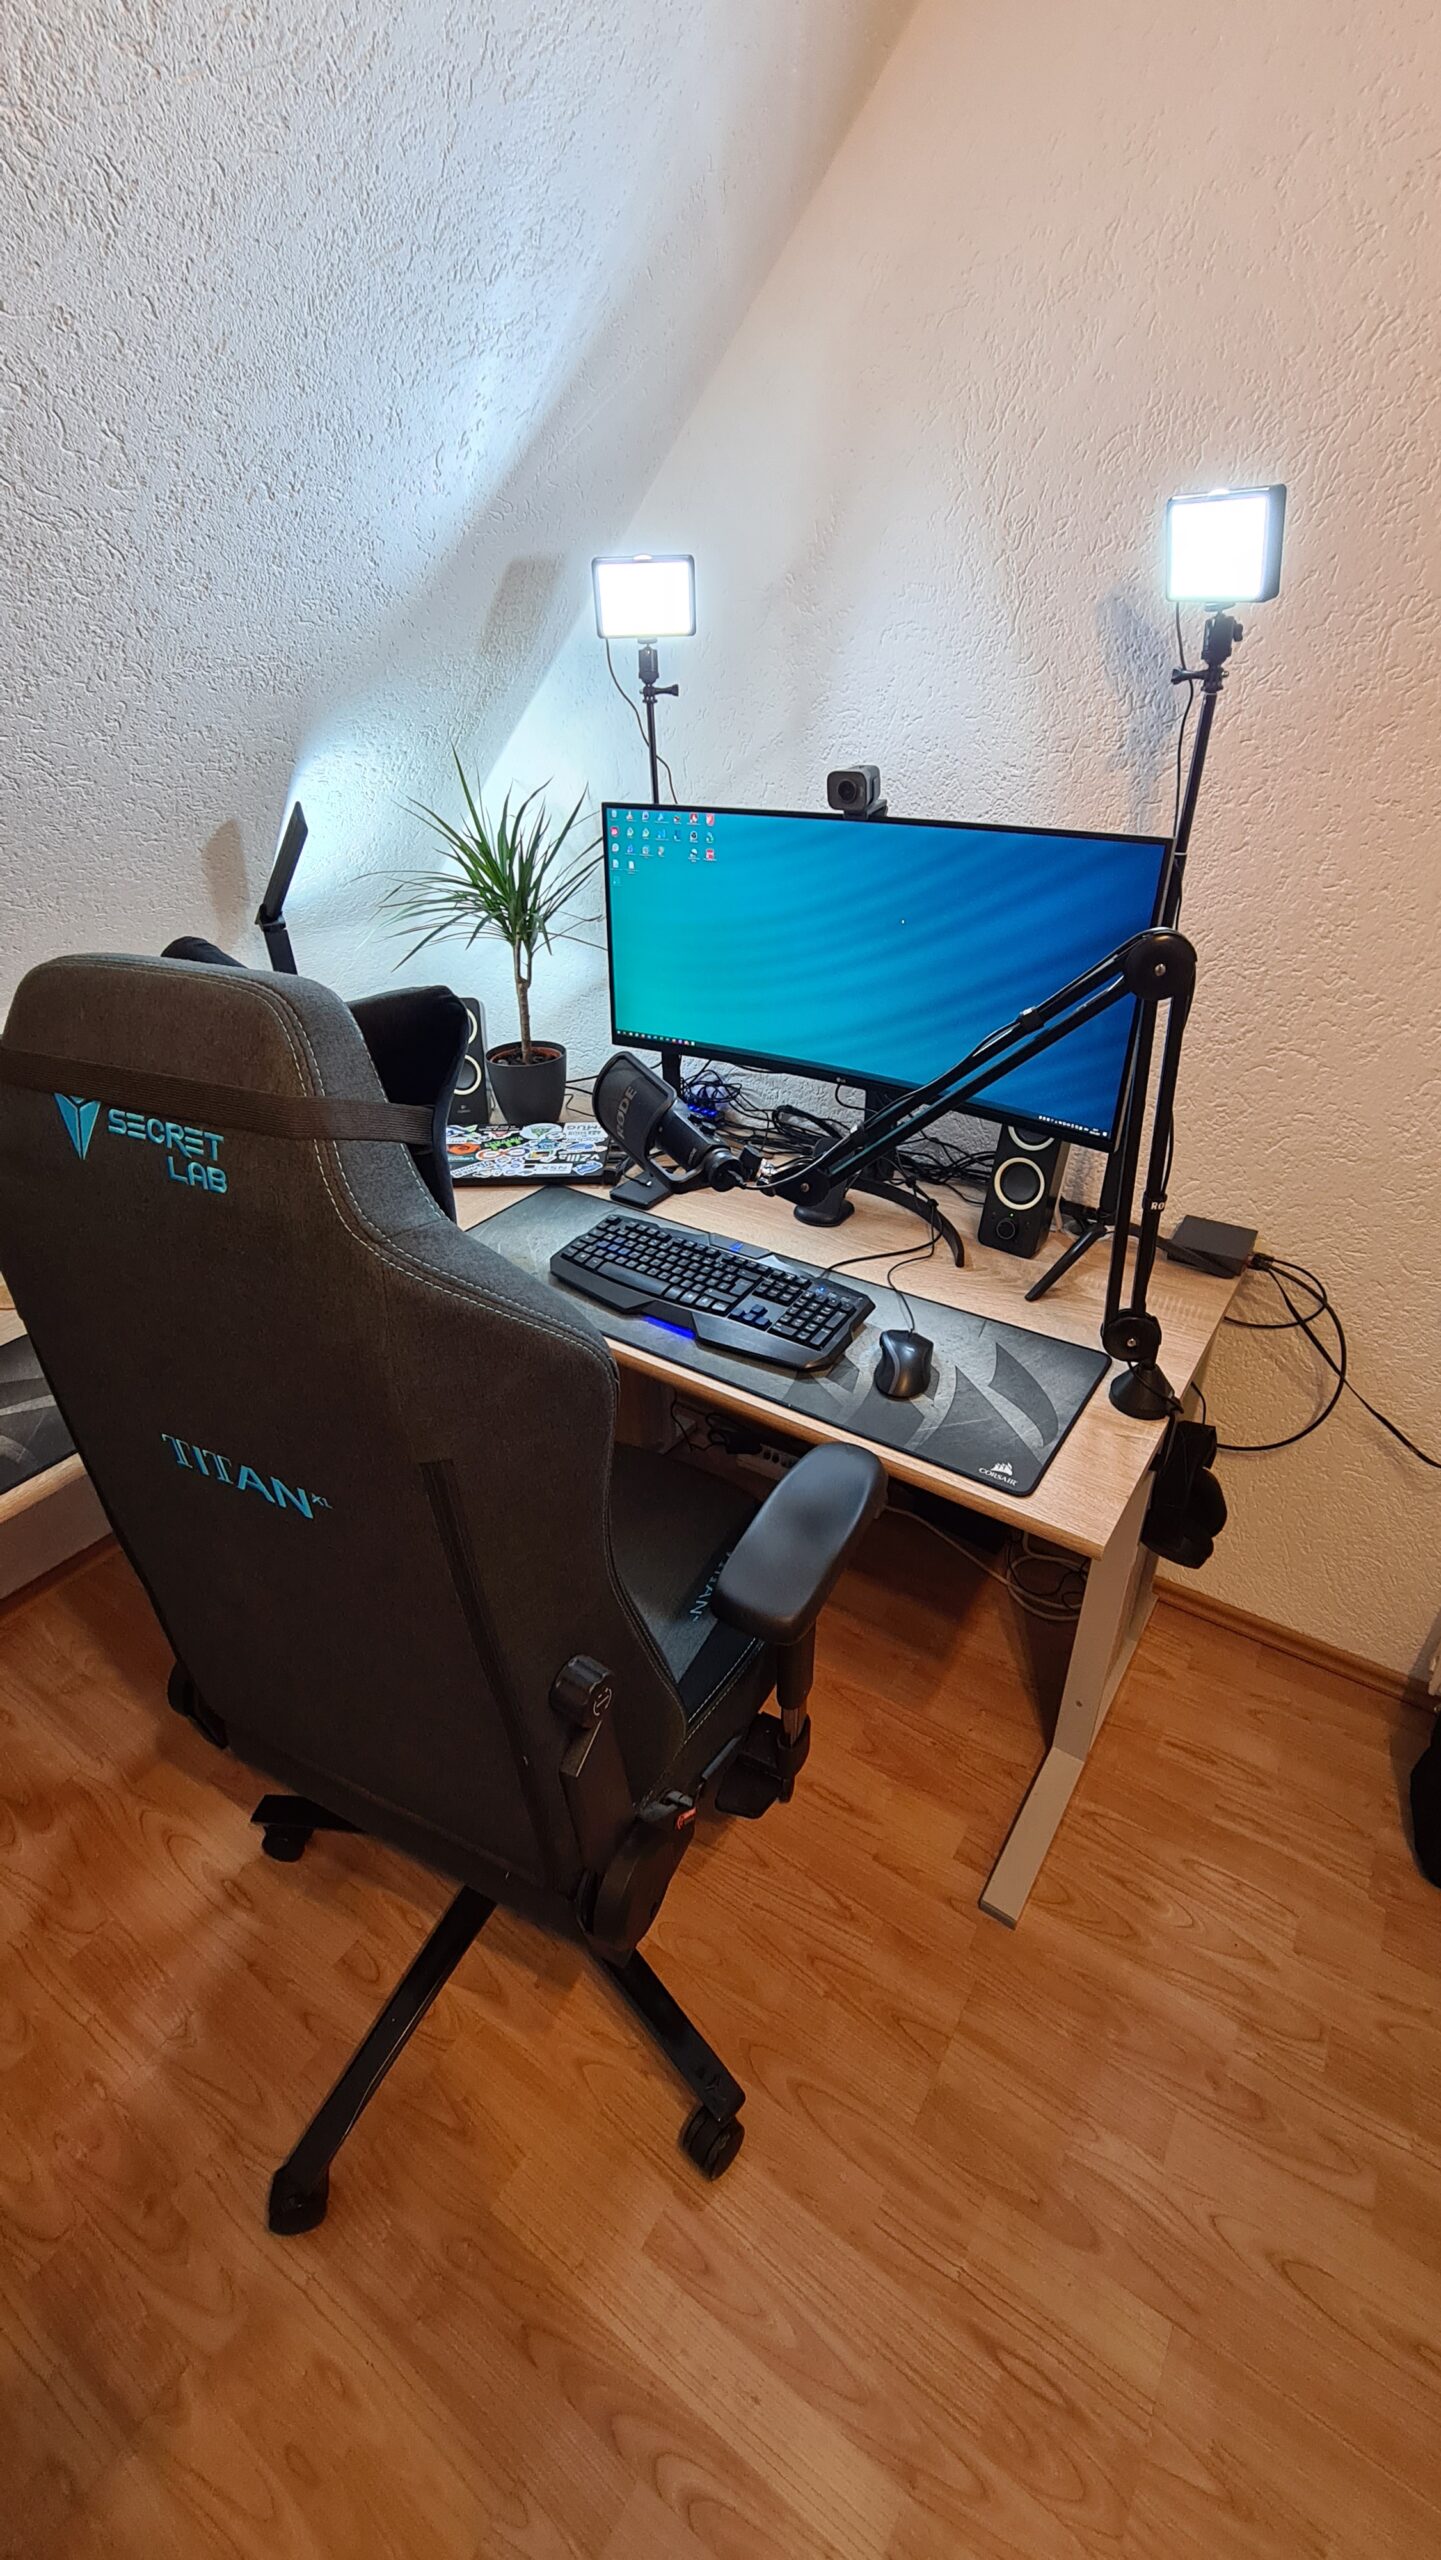

I’m sitting about 45 centimeters away from the screen and I’m looking slightly down on the screen which is perfect in terms of comfort and ergonomics. Somebody on Twitter also asked if I could take a picture of me sitting at the desk. Here you are 🙂
Other home office upgrades
There are some small additions to the home office upgrade which are not that pricy but they make the experience even better.
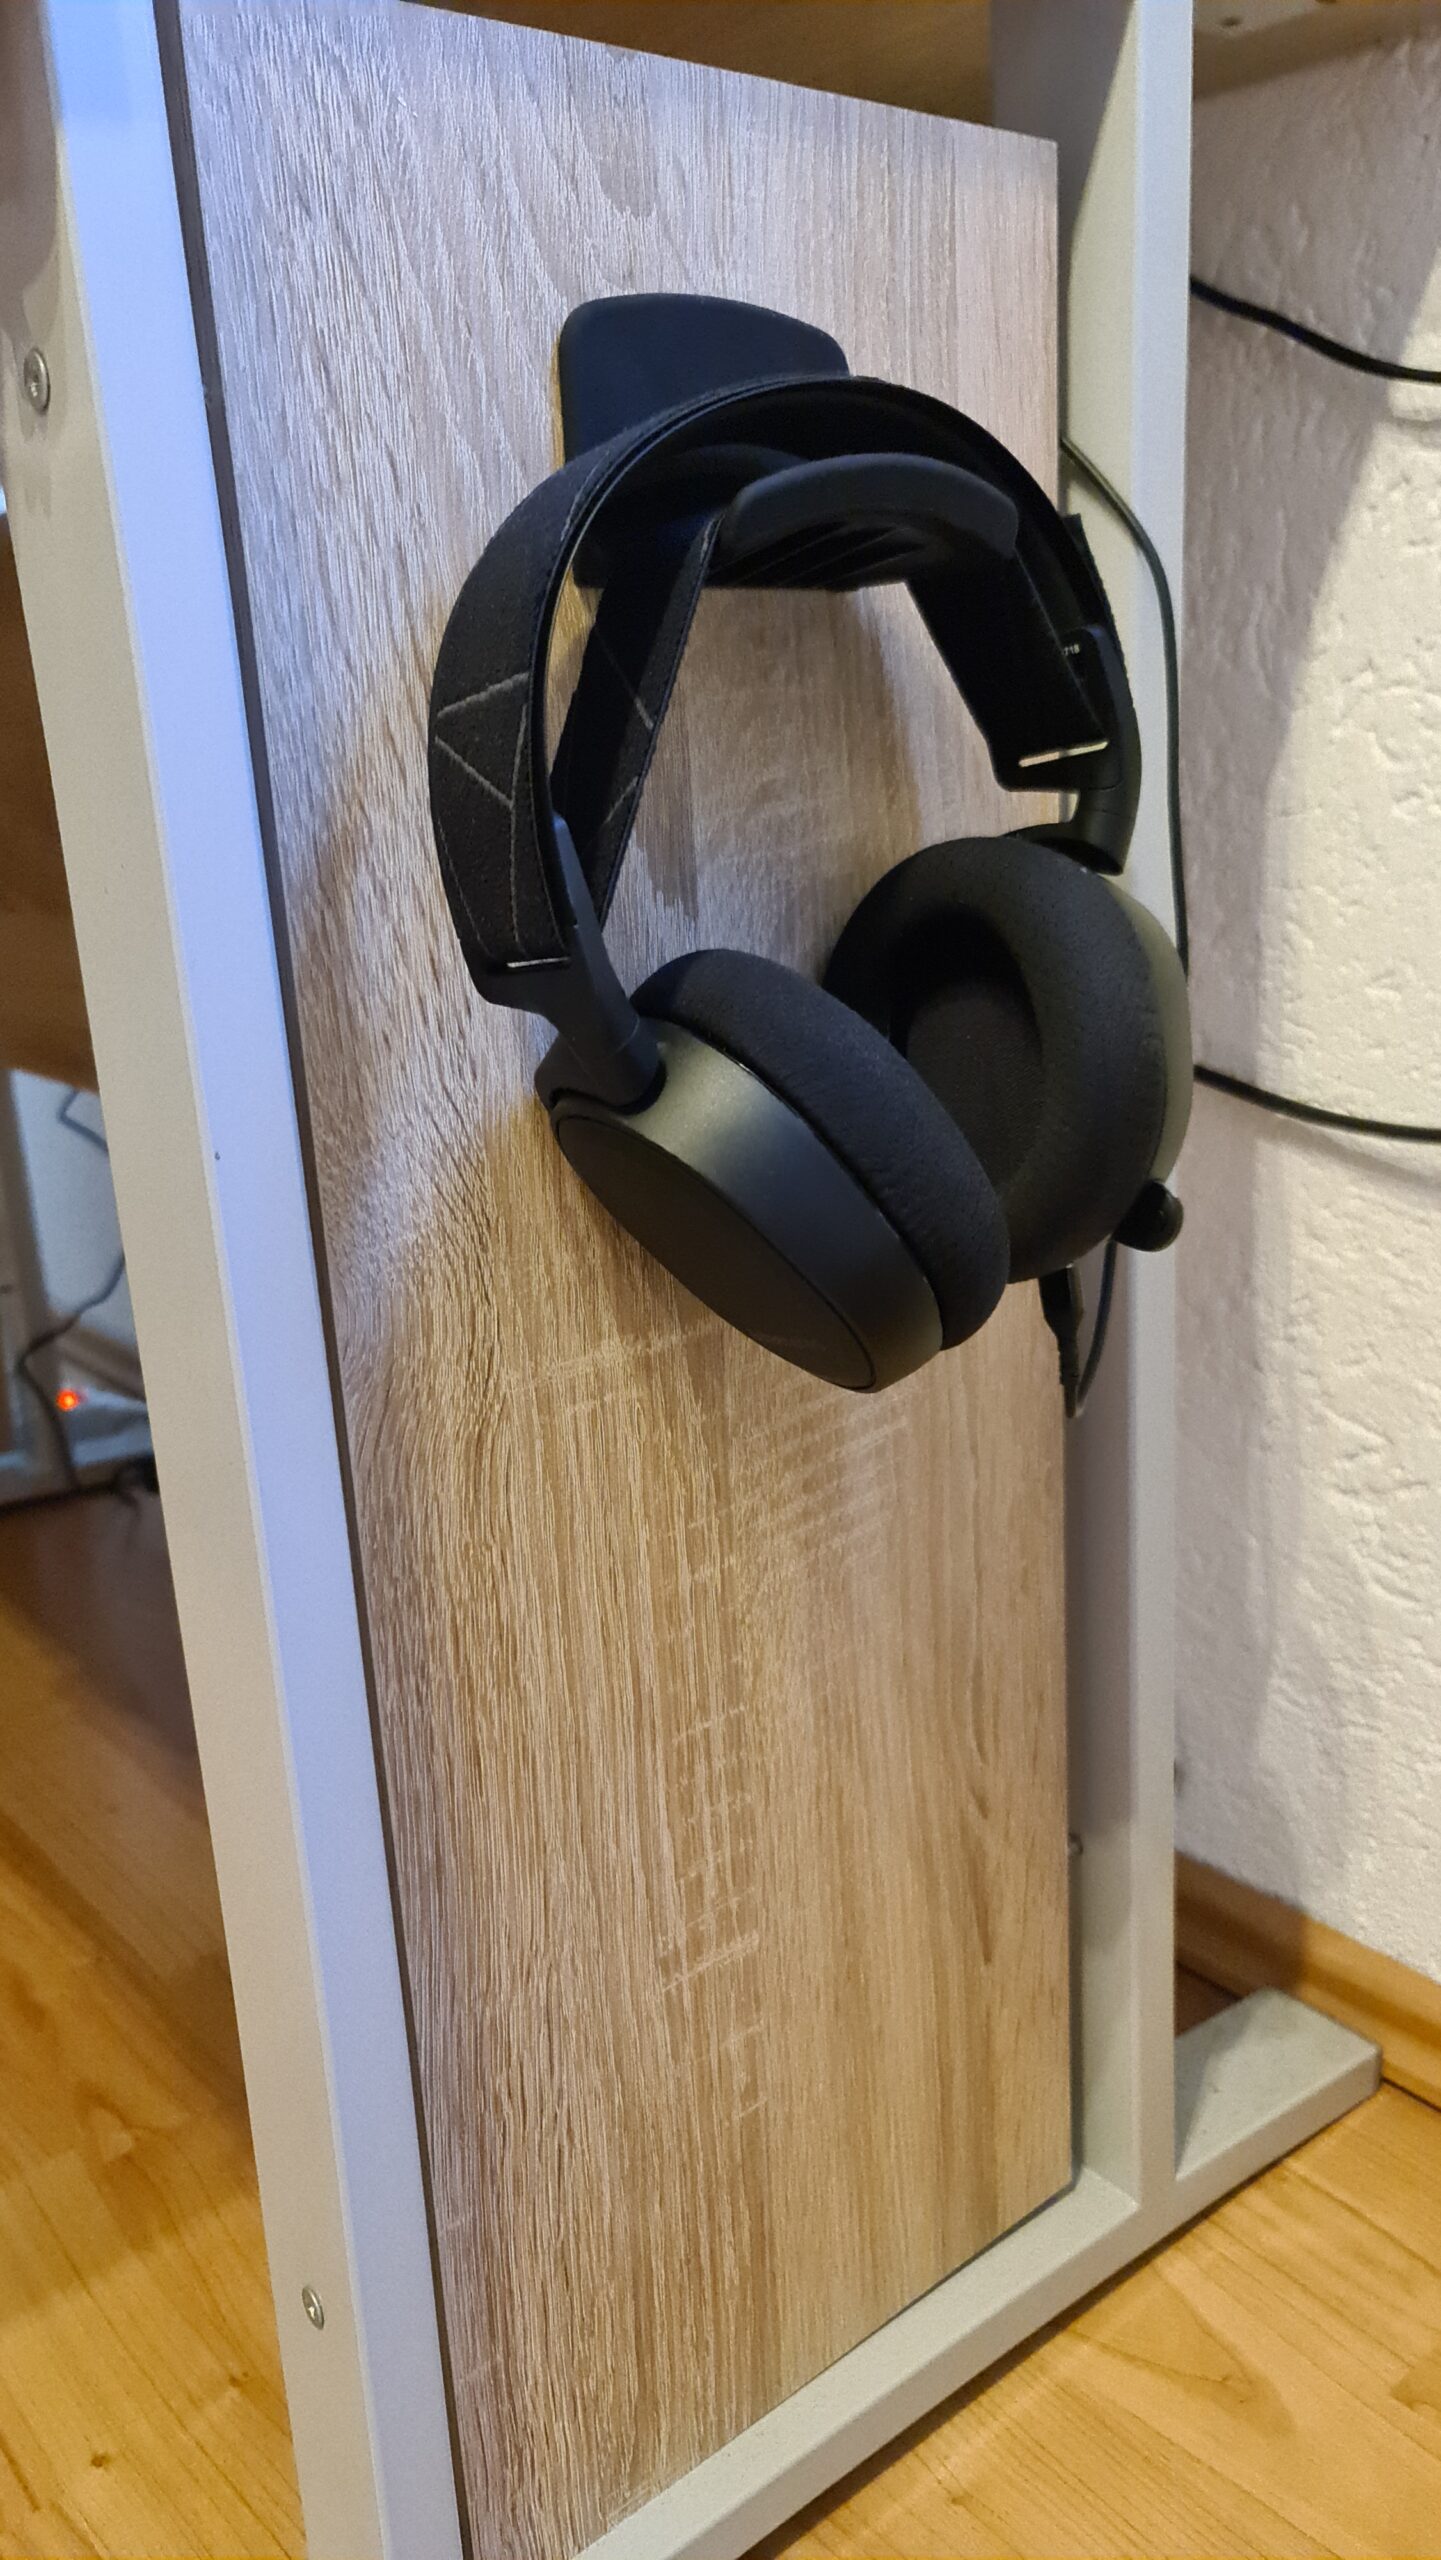
Headset mount
I ordered a headset mount for my Steelseries Arctis 7, because I really don’t like the headset laying around. The headset mount is from a company named “Neetto” and comes with a preattached double-sided adhesive tape, which does its job pretty well !
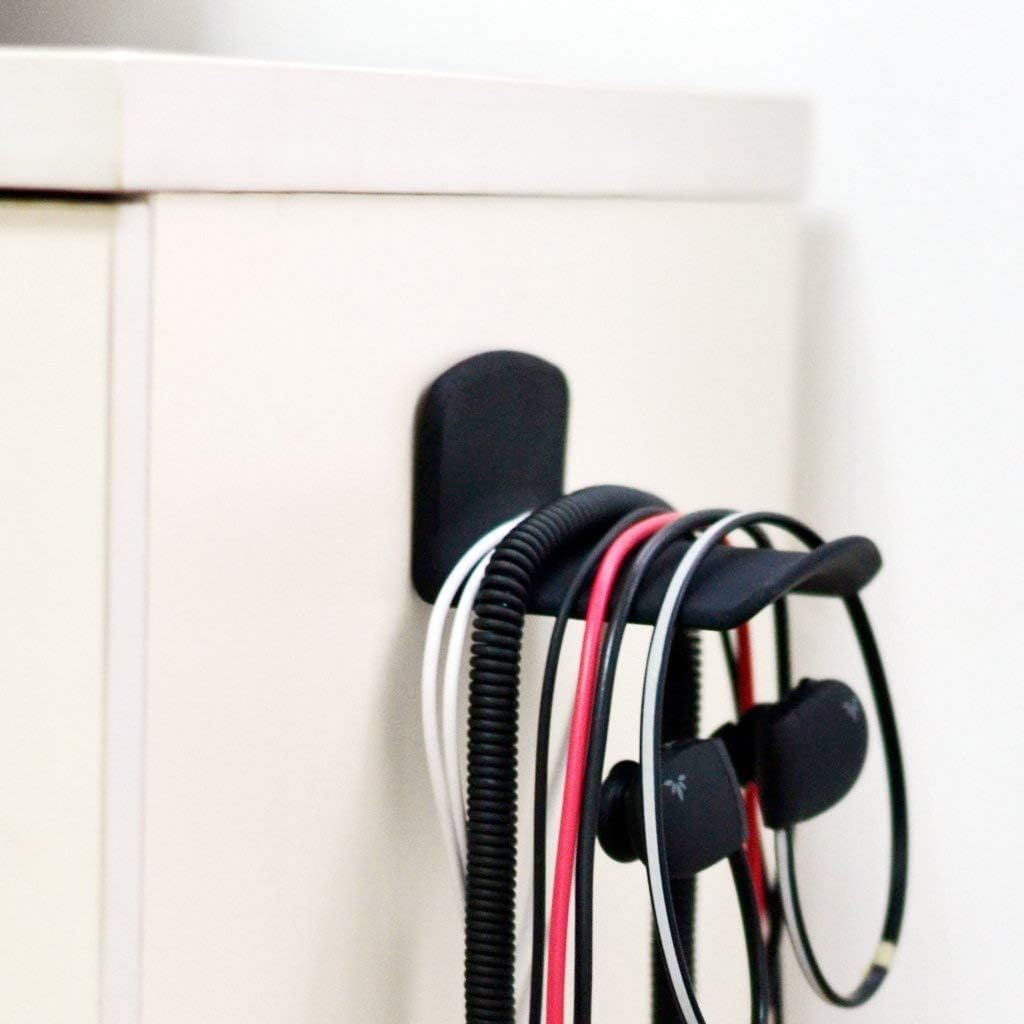
Here is a picture of it.
I also wired a USB cable from the back of my office desk to the headset holder to charge it while I don’t use it.
Oh and because the headset mount stuck so well, I ordered another one to hang my conference badges on (I really hope that it is possible again in the future to attend all these awesome events we were missing in 2020…).

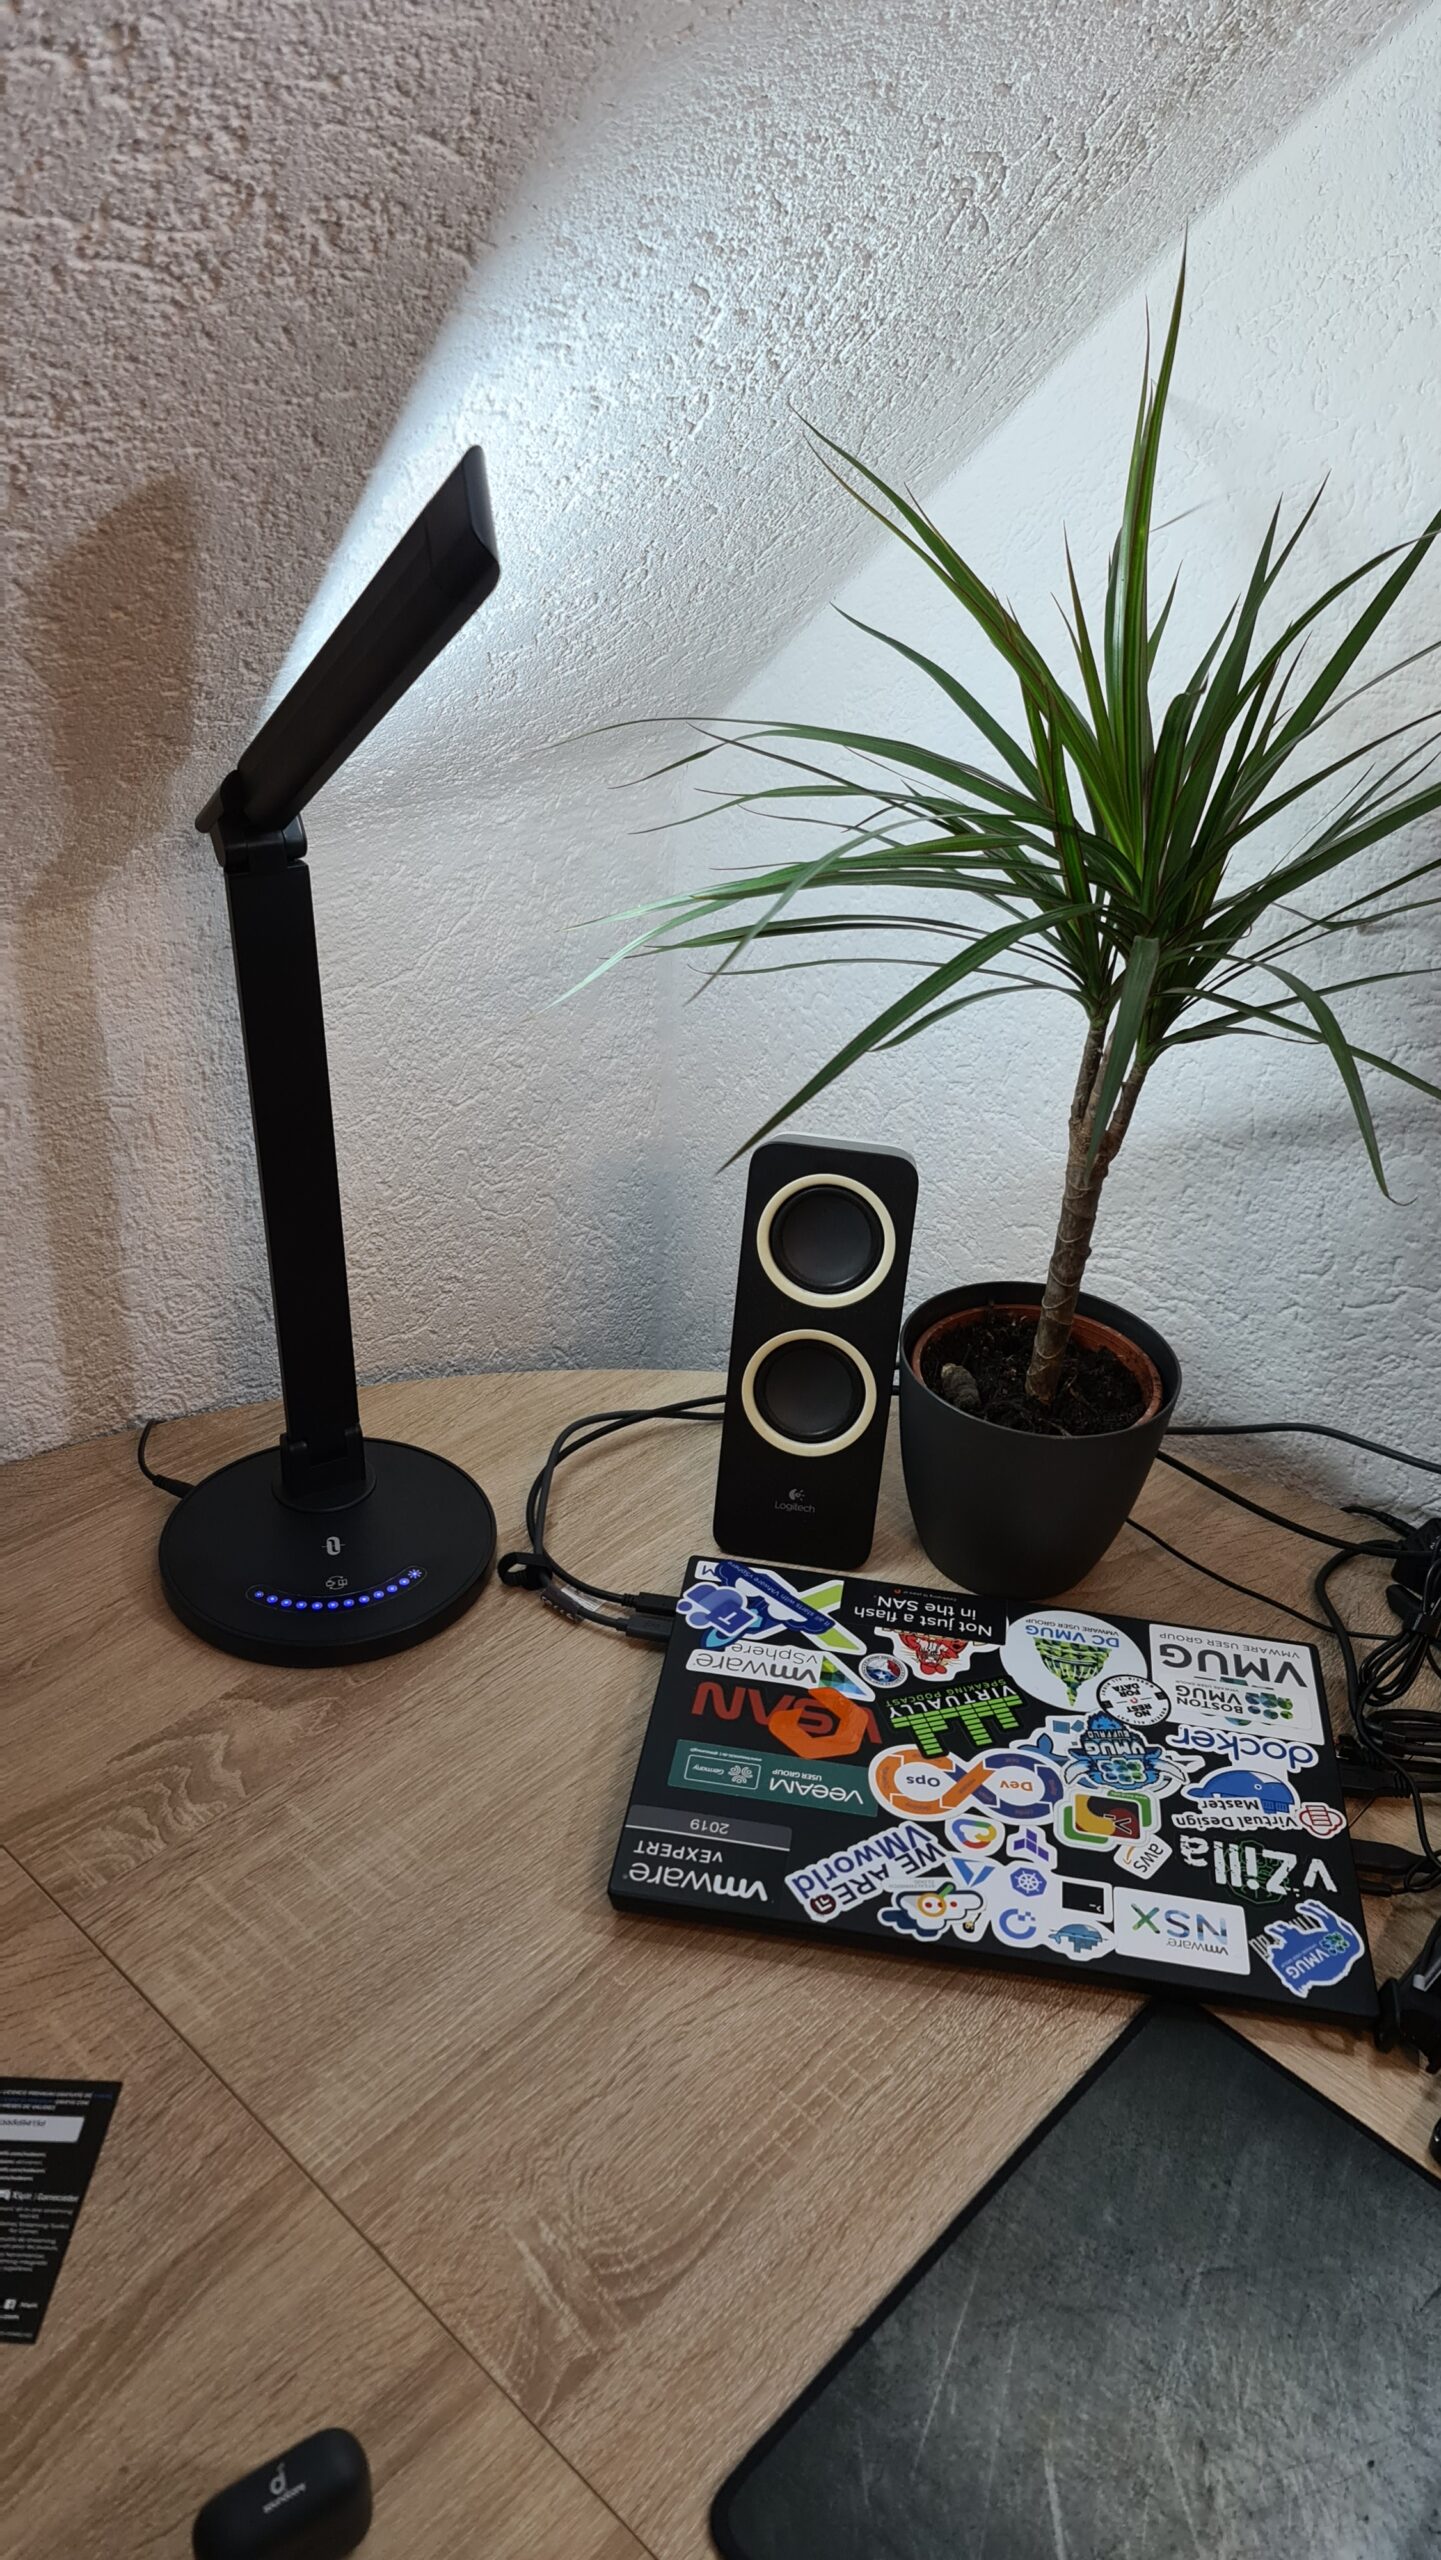
LED desk light for the home office upgrade
Because I like indirect light, I got myself another desk lamp which shines behind my screen. The lamp has 7 brightness levels, which is quite sufficient for my purposes. Furthermore, the lamp has 5 color levels to radiate in different shades.
The lamp is from the company “TaoTronics” and I bought this aswell as almost everything on Amazon 😀 Here is the link to the lamp
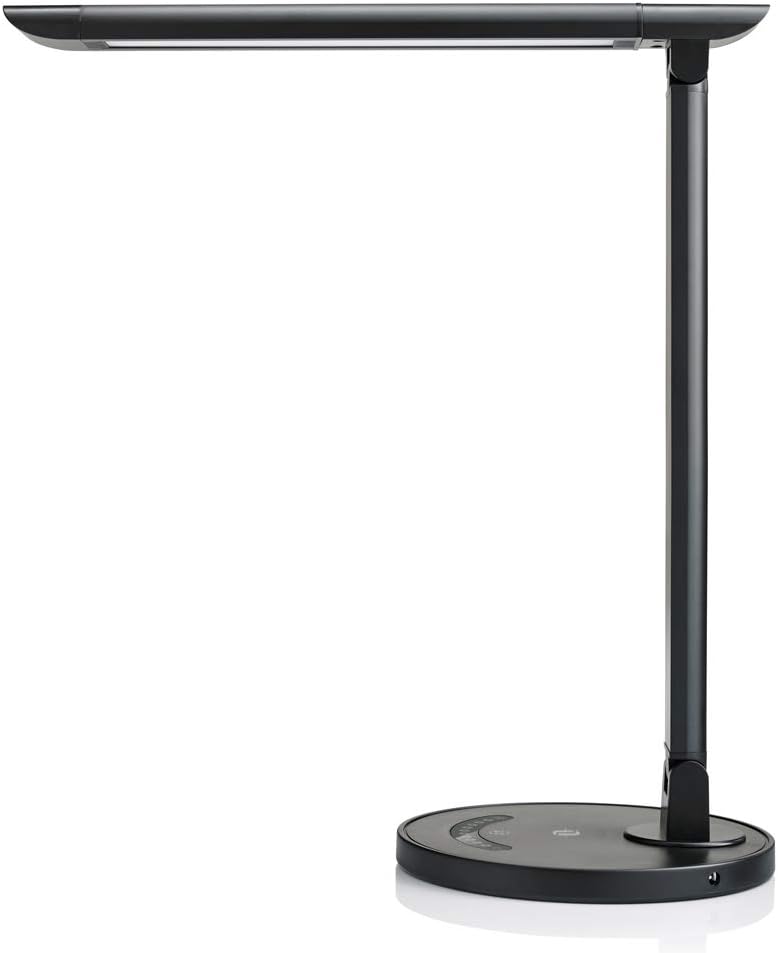
And here is a picture of the lamp besides my ThinkPad on my office desk:
Big Mouse pad
As you can see on the pictures I’m using a big mousepad from Corsair which is the “Corsair MM300”. My keyboard and mouse is placed on it and serves on the one hand as a mouse pad and on the other hand simply as a base instead of pure wood from my desk.
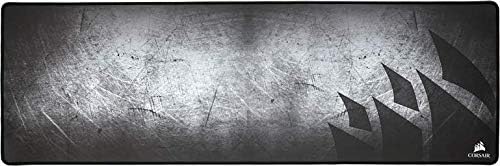
Here is the product itself on the homepage of Corsair
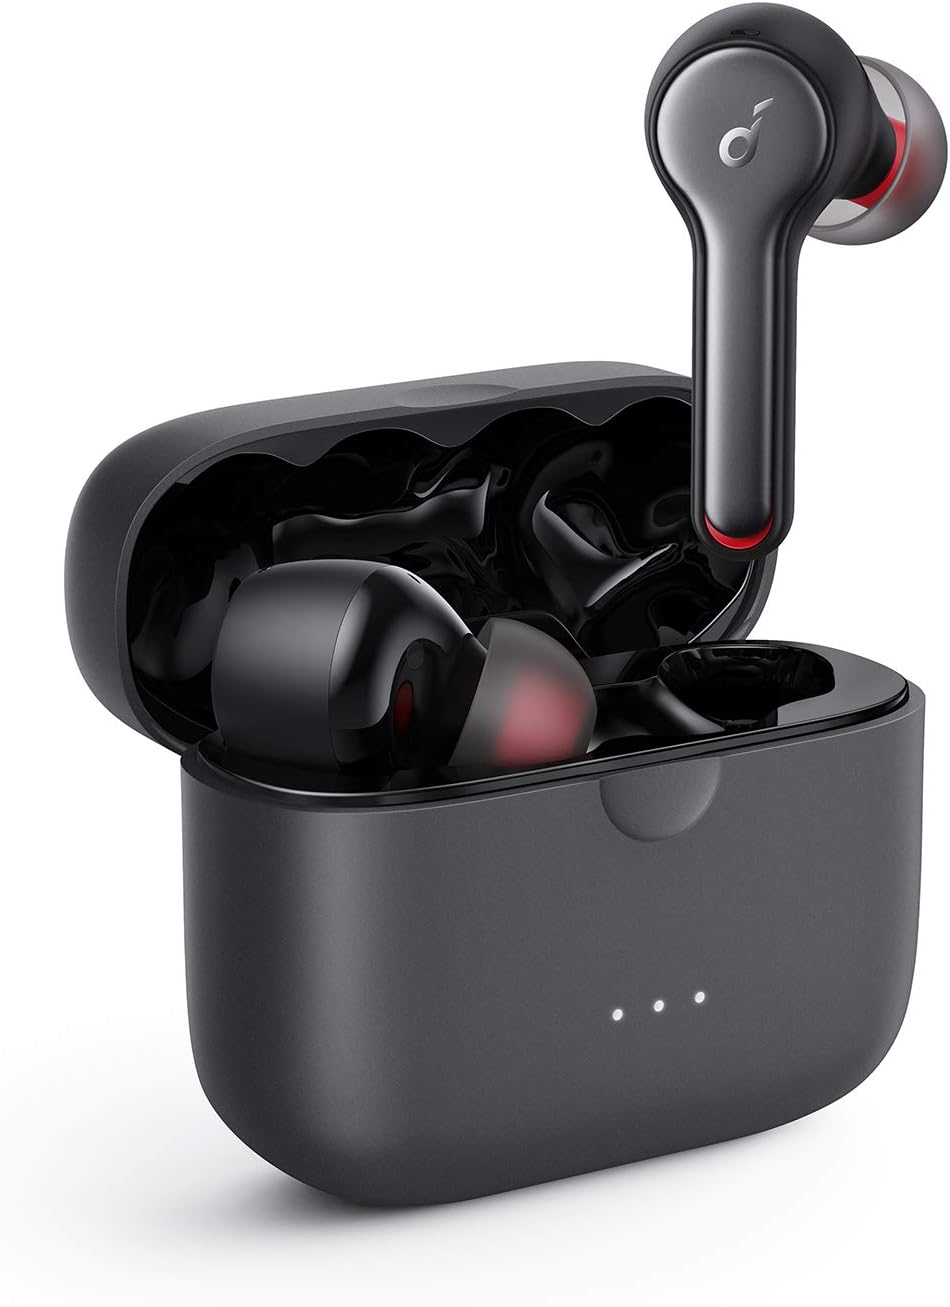
How about phone calls in the home office ?
For phone calls, podcasts and Blinkist (I love this app) I’m using some in-ear wireless headphones from Anker called “Anker Soundcore Liberty Air 2”. They do not have any noise cancelling, but I really don’t need it in my eyes.
The overall sound quality and voice quality while taking phone calls is just fine. Nothing super awesome, but also not bad or any kind of poor sound !
Here is the link to the Anker homepage
Here is the link to the Anker in ears on Amazon
All in all I must say, that I’m very satisfied and pleased with my home office upgrade and really enjoy working in my office. Tell me what you think and comment down below ! 🙂
Also tell me what you have done for your home office upgrade, because I think we all will work more from home than ever before !
As always, thanks for reading, stay safe and have an awesome day !
Here you can find all my Veeam related articles: Veeam related blog posts
Here you can find all my VMware related articles: VMware related blog posts
Hi Falko,
I love your setup! Thanks for sharing..
Daniel