 virtualhome.blog My blog about virtualized infrastructures, backup and disaster recovery topics and the cloud !
Related Articles

I recently talked to one of our Big Data / Analytics guys about overarching themes in our subject areas.
Since I’m a guy who is familiar with virtualization, backup and cloud subjects i always search for topics which have a relation to each other.
That is how we managed to talk about Splunk.
Splunk is a log, monitoring and reporting tool that makes machine data accessible and usable for all users by searching logs, metrics and other data from applications, servers and network devices and indexing them in a searchable repository. Graphics, reports and alerts can be generated there. It is designed to help system administrators identify and analyze incidents. Log data from different systems and software components can be correlated to each other. Indeed it is a very powerful tool !
Since you always need a usecase for trying out new things, i searched the splunkbase and found this:
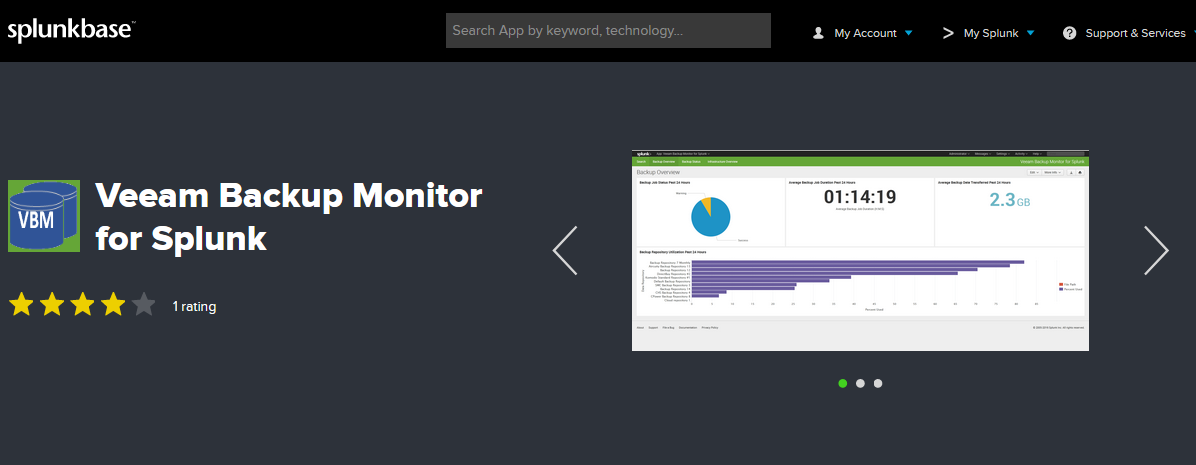
Alright, I have a use case now: Monitoring Veeam Backup & Replication with Splunk !
Preparation prior installing Splunk
First of all, pick an operating system which you want to choose as the Splunk server. Here is a list of all supported operating systems.
I chose CentOS since I’m familiar with it. So i installed a fresh CentOS 7 virtual machine as my splunk server.
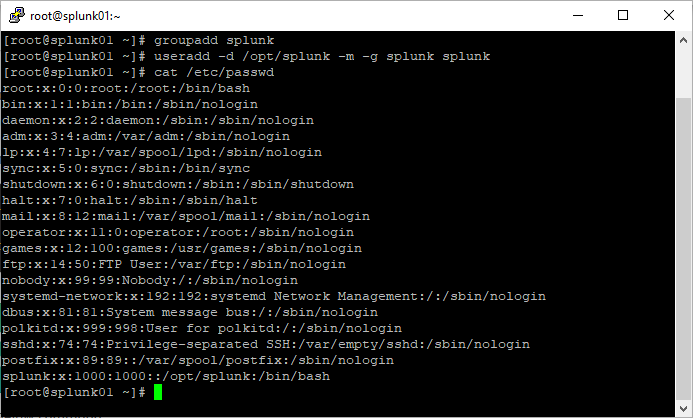
Before you install Splunk, you should create a new group and a new user with a home directory and a password.
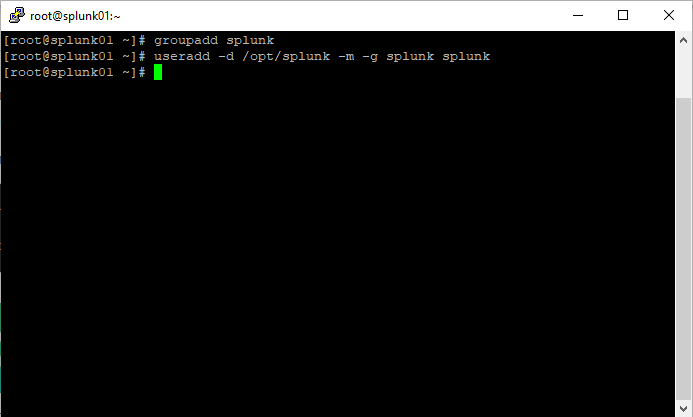
With a “cat” on “/etc/passwd”, you will be able to see if the new group and user has been added correctly.
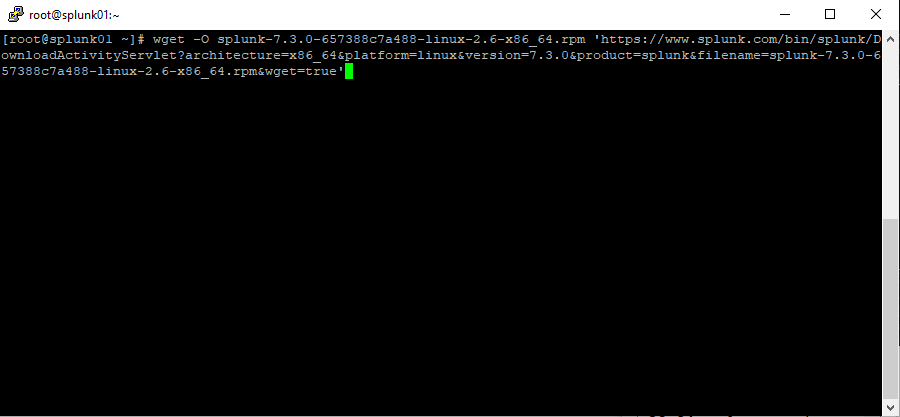
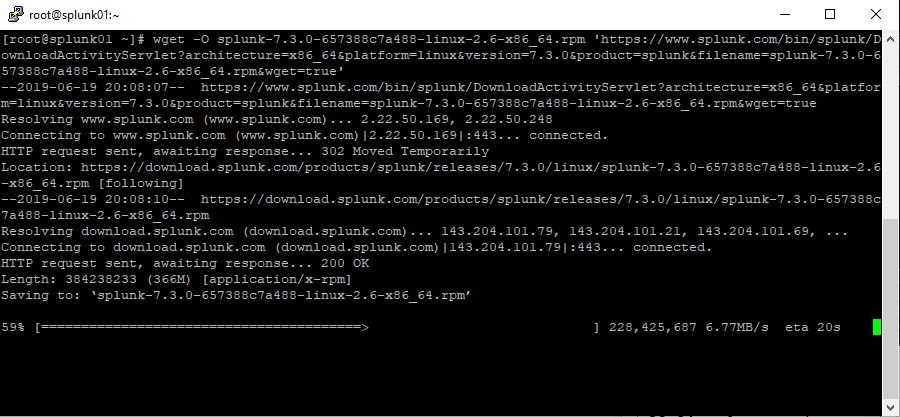
After you have set up the group and the user, you can forward with downloading the software. On the website of Splunk they offer a variety of download options. I went for the command-line option with “wget”. They offer you the full command which you only have to copy paste in order to download the package.
Installing Splunk on the server
When the download has finished, you can simply install the software with the “yum” package manager.
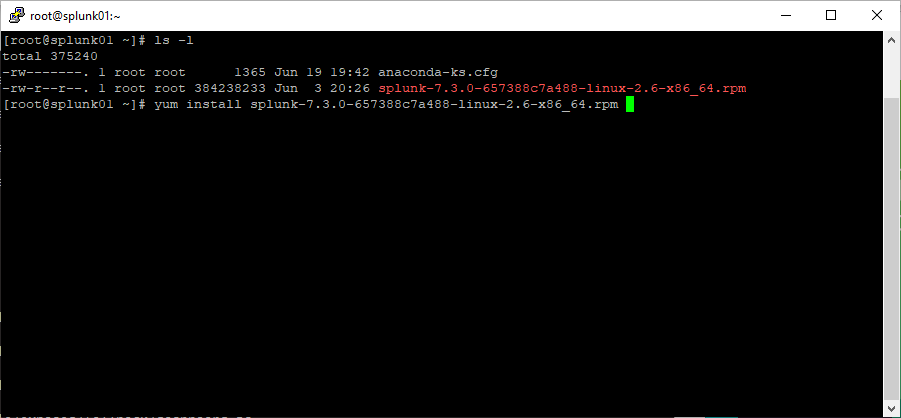
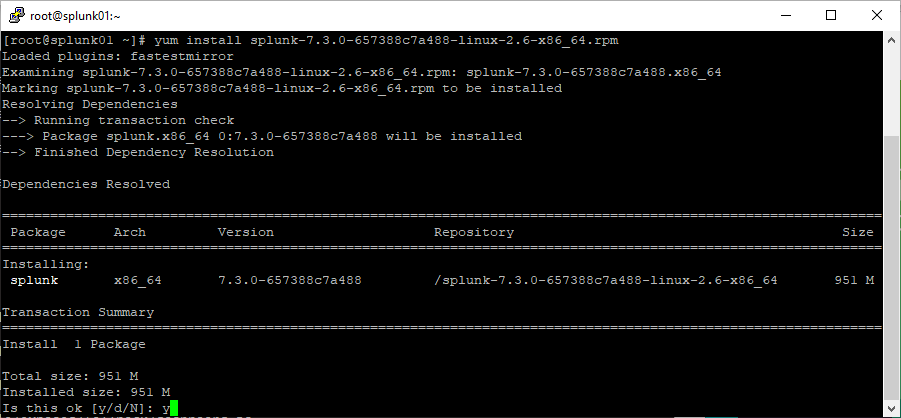
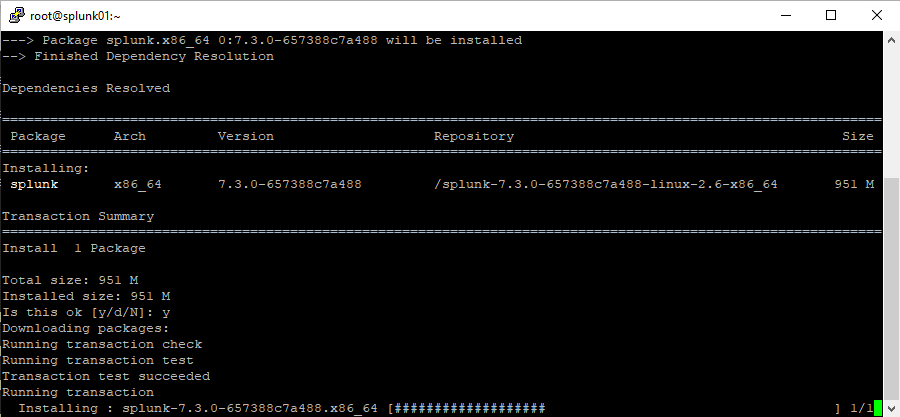
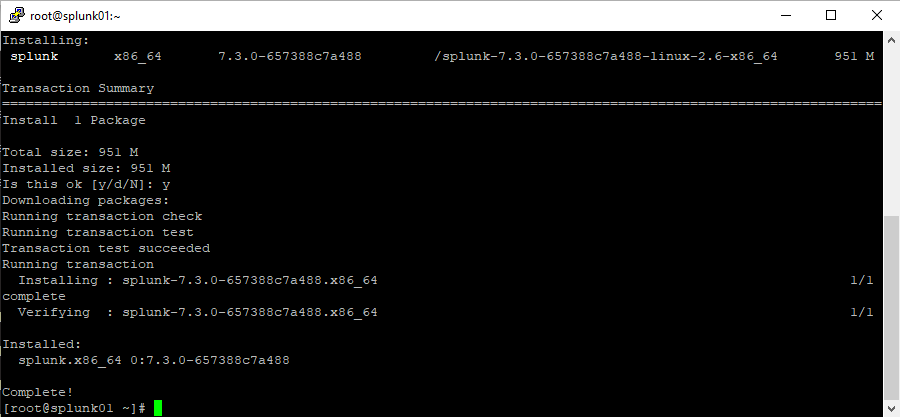
As you can see, the installation so far is pretty easy. Since we now have installed the software itself, we need to change the ownership of the dedicated folder where splunk is installed.
Steps after installing Splunk
At default, Splunk gets installed under “/opt/splunk”. That’s why i chose my user home directory to be “/opt/splunk”. To change the ownership of this directory and the newly installed splunk software with all the files and folders, we have to utilize the “chown” command.
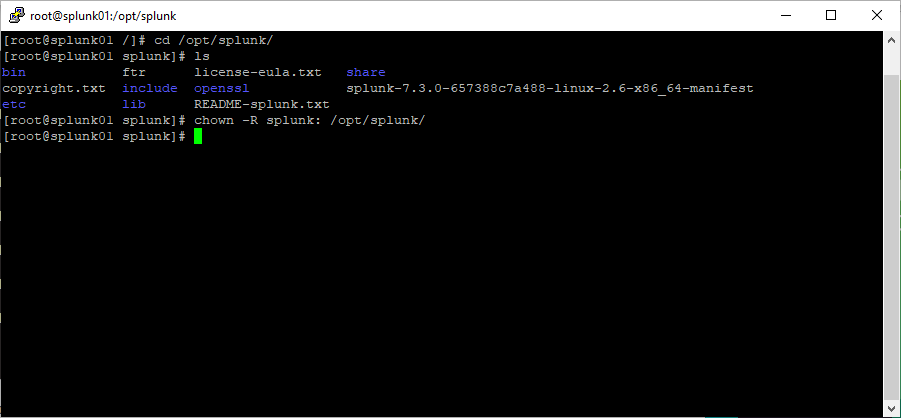
After we have set the ownership to the correct user, we simply switch to the “splunk” user and have a look at the directory with our newly installed components.
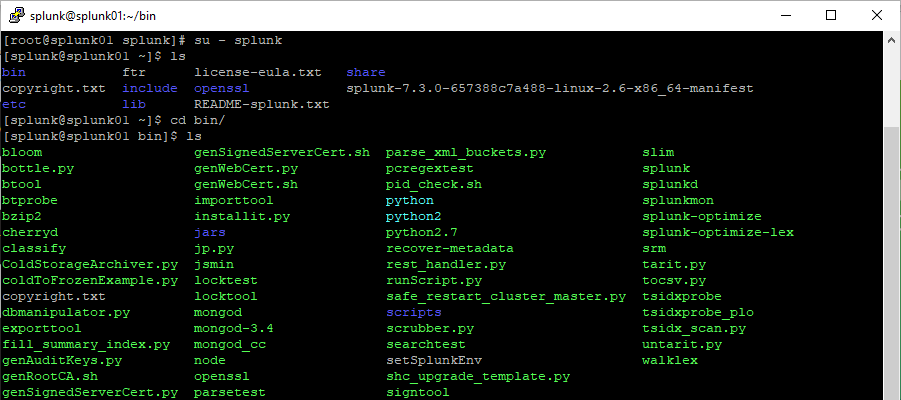
In this directory we have several binary files to manage everything Splunk has to offer. Since we want to start the server, we utilize the “splunk” binary and start the Splunk server for the first time.
Starting the Splunk server
For that we use “./splunk start –accept-license” to bring up the Splunk server.
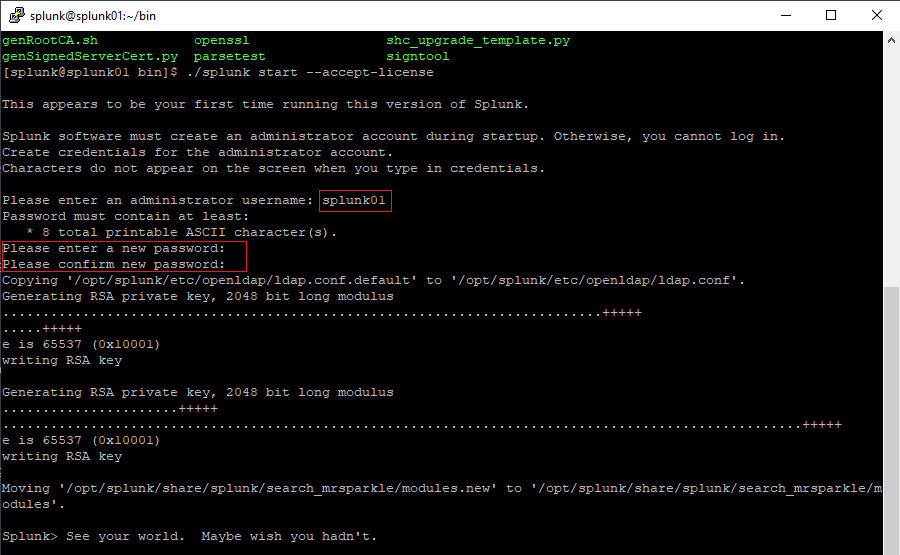
Watch the red frames in the above screenshot. When you start your server for the first time, you will need to provide an administrative user and a password to login to the webinterface.
After you chose a user and have set the password, the server will start up.
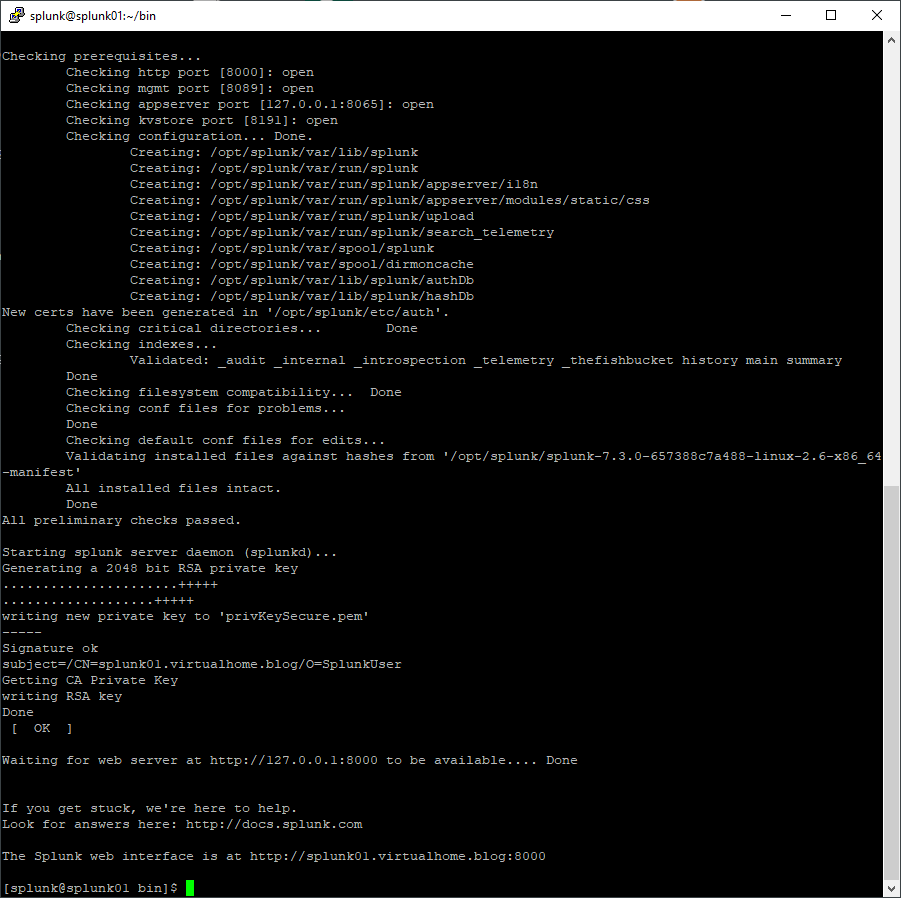
If everthing is successful, you will see a message stating “The splunk web interface is at http://yourserver:8000”.
So let’s give it a try ! Open up a browser and go to your address.

Tada, it worked !
Summary
In this part of the series, I covered the preparation and installation of the Splunk server which will be used for receiving the data from our Veeam Backup & Replication server. Monitoring Veeam Backup & Replication with Splunk will need further configuration which I’m going to cover in the next parts of the series.
The next parts will cover the configuration on the Veeam Backup & Replication Server side and how we set up the communication to the Splunk server.
Thanks for reading and stay tuned !
Go to Part 1: Monitoring Veeam Backup & Replication with Splunk – Part 1 Installation
Go to Part 2: Monitoring Veeam Backup & Replication with Splunk – Part 2 Installing the Plugin and configuring the Firewall
Go to Part 3:Monitoring Veeam Backup & Replication with Splunk – Part 3 Getting Veeam Data into Splunk